5 Pieces of Equipment to Venture into Macro Photography
Macro photography is a fun way to spice up your photography. Ordinary things can be transformed into art with macro photography. The small things on your desk can be your new subject. Or you can go out to your backyard and photograph some flowers and insects.
However, your kit lens may not be sufficient for macro work despite having some macro capabilities. It does not have the magnification level needed for macro work. But don’t worry; here are some effective ways to start in macro photography.
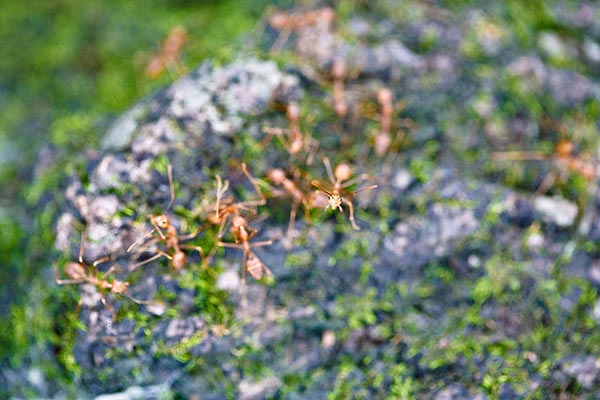
Photo by Bernard
Reverse Ring
As the name suggests, a reverse ring reverses the attachment of your lens. You have to mount the lens in the threaded part. This means that you have to get a reverse ring the matches your lens. A 58mm ring won’t work with a 52mm lens and vice versa.
When using this, your camera won’t be able to auto-focus. Aperture would also require manual changing. Shutter can be still controlled in the camera though.
The minimum focusing distance varies and depends on the lens you’re using. This can be as much as a couple of inches to a foot. But given the price of a reverse ring, around 5$, the cons can be forgiven.
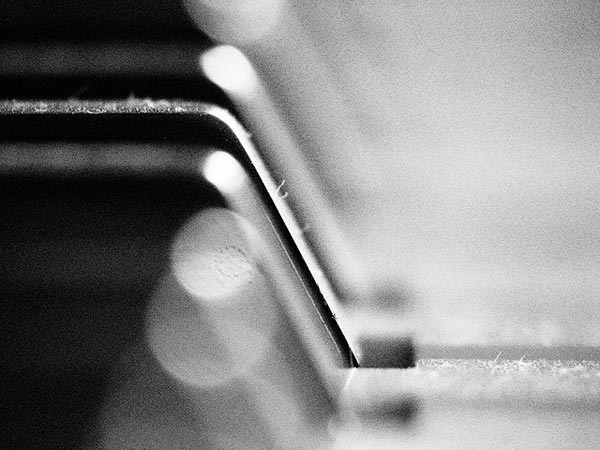
Photo by Bernard
Extension Tubes
An extension tubes extend the distance between the lens and the camera sensor. This results in magnification at closer distances. They are available in various lengths since the length will determine the magnification. A 50mm lens will require a 50mm extension tube to achieve a 1:1 magnification. An 85mm would require an 85mm, a 100mm lens would require 100m tube, and etc.
Auto-focus and aperture control can be retained if you use automatic extension tubes. Those go for about 100$. If you feel that you need the auto-focus and aperture control, get the automatic extension tubes. If you’re feeling thrifty and just want to try macro, you can get the manual tubes for as low as 10$ only.
Be wary though, since the longer the tube, the less light the sensor can gather. This means that you have to use a slower shutter to compensate or even a tripod.
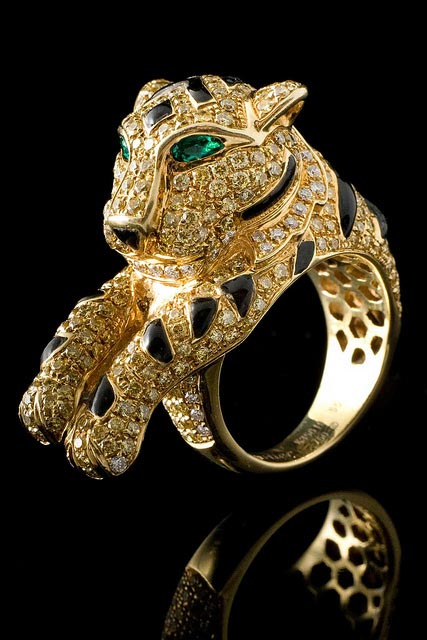
Photo by Bernard
Close-up Lens Adapter
The easiest way to try macro photography is by attaching a close-up lens adapter to your lens. You will retain all automatic functions of your camera but at the cost of image quality. Since you are adding an optical element in front of you lens, the quality will degrade since the attachment is the weakest link.
This attachment’s price can go for as low as 20$ and up to 200$.
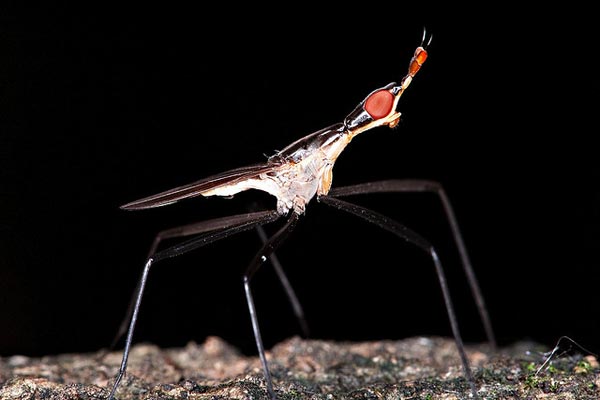
Photo by Bernard
Coupling Ring
The theory behind the coupling ring is the same with the reverse ring. But instead of attaching an inverted lens to the camera itself, the coupling ring will allow you to attach it to a lens attached to your camera.
This can get tricky, since you have to mix and match the settings of the lenses. To get the best result, attach a shorter focal length lens to the attached lens on the camera. If your camera has a 100mm lens attached, a 50mm attachment is recommended instead of using another 100mm.
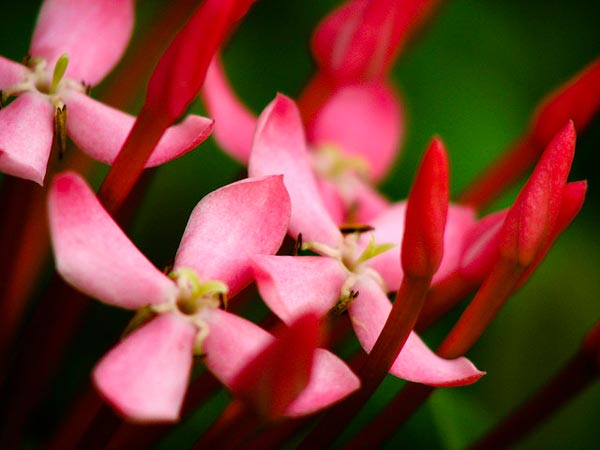
Photo by Bernard
Macro Lens
A dedicated macro lens is the most fool proof way of venturing into macro photography. Almost all macro lenses give 1:1 magnification. They also have a decent minimum focusing distance and you also retain the automatic features of your camera.
The price can be steep for those who just want to try macro photography. But, a macro lens can be used as a portrait lens too, since it’s very sharp, even when shot wide open.
More resources for macro photography
About Author
Bernard
Bernard likes to surf the web, eat and read. He's been using his camera for 3 years already. And is on his way to capturing the light. Feel free to visit his website to see more of his works


Hey, nice article!
Just a short completion to your info, if it’s ok:
– there are guys out there that break an 18-55mm open, dismantle it, remove the contacts cap and glue it to the front of the lens, to preserve the contact between the camera and the lens when shooting
– I came up with another, non-destructive solution, for this: I created a pair of adapter caps, one going on the 58mm thread and the other going on the contacts end of the 18-55mm, both adapter caps being connected by means of an 8-threads band. The whole ensemble takes up very little space in my bag, is lightweight and very easy to mount on-off. I can provide some pictures if you think you’d be interested to find out more. Just let me know…
Thanks for your comment, definitely i am interested to see some of your photos .