A Guide to Infrared Photography
Infrared photography (IR) is a technique that gives interesting results, because the spectrum used for the resulting image is composed of wavelengths of light invisible to the human eye. In infrared photography, the film or sensor of the camera is sensitive to infrared light so the images obtained through this technique will look very different from the ones composed with visible light. Usually, in this type of photography, an “infrared filter” is used. This filter allows the infrared light to pass to the camera and blocks most of the visible light.
Because of that, the filter looks black or dark red and once attached to the lens it will make it impossible for the human eye to see anything through the viewfinder of the camera. This means that the settings of the camera must be made prior the filter attachment, unless a modified camera or a camera with live view is used.
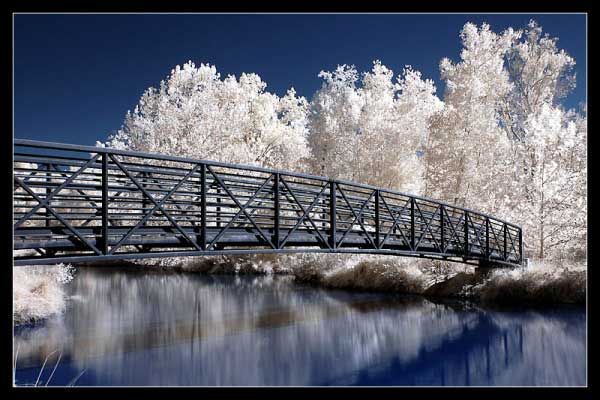
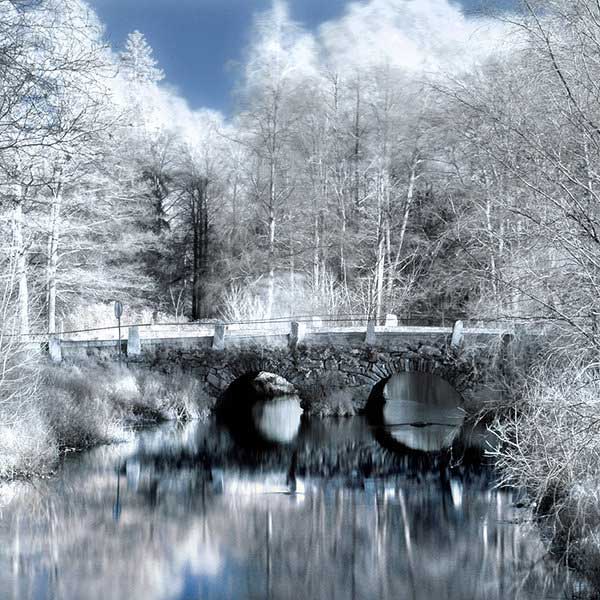
(Bridge in false color infrared )by Snailfan-man
If an infrared sensitive camera is used along with an infrared filter, some very interesting images can be obtained. Images that will look like some type of effects have been applied. The resulting photos will often have a surreal appearance, because when shooting in infrared tree leaves and grass will appear to be white like snow while other things like the sky and water will look dark. Because the wavelengths used for infrared photography range from about 700nm to about 900nm- the spectrum of near-infrared- the resulting images will look very different from the normal ones, as they will have elements that will stand out more than others. Thanks to the near-infrared spectrum used, the images will be clear and distinct from the ones that would have resulted from a far-infrared spectrum. The far-infrared spectrum is the domain of “thermal imaging” and it usually isn’t used in infrared photography.
How to use a digital camera for infrared photography.
First of all, you need a camera that is capable of recording the infrared light. Unless the camera is designed from the factory to be able to record infrared light, you should know that all digital cameras on the market have an anti-IR filter in front of the sensor which blocks the infrared light. Because of that, you can’t use a normal DSLR to shoot in infrared, at least not without some modifications or filters. There are a couple of solutions that can be used to turn your normal digital-SLR camera into a camera that’s capable of recording infrared light. In the past, when film cameras where used, a sensitive to infrared film was all that was needed. But, it was very difficult to handle such a film as it was easy to ruin it. Now, digital-SLRs don’t have that problem, but they can’t be used out of the box for infrared photography.
Filter only. The easiest way to do infrared photography with a digital-SLR is to attach an infrared filter to the lens. The filter actually allows the infrared light to pass to the camera, blocking most of the visible light. But once the infrared light reaches the sensor of the camera it faces another problem and that is a filter constructed in the camera, right in front of the sensor, blocking the infrared light. Luckily, these filters don’t block all the light, a tiny amount of the infrared light still passes through to the sensor and by using an IR filter on the lens you will be able to capture the infrared light, but long exposure times must be used. With this method you can do infrared photography without modifying the camera, with the help of just a filter, but you will be limited in using the camera at very long exposure times, usually between 10 to 30 seconds which implies the use of a tripod. Because of that, most of the infrared photography taken with such a camera involves landscapes and other static images. Another problem with this method is that you can’t use the viewfinder of the camera with the filter attached and you must make all the adjustments before you attach it and then take the picture.
IR + visible is a method that makes infrared photography more easier by modifying the camera and replacing the infrared filter that is located in front of the sensor with glass that will allow all the light to pass to the sensor. The advantage is that you can use the camera at normal shutter speeds. However, this modification should only be done by a specialist. By doing this, you will be able to take infrared photography with the IR filter that blocks the visible light, in front of the lens, but you will still not be able to use the camera’s viewfinder. Doing normal photography will still be possible by adding a filter that blocks the infrared light. You cannot use the camera without one of these filters, because all the light will reach the sensor including the infrared and the visible spectrum, and this will cause off-balanced colors.
IR only, the last method gives the best results for infrared photography. It consists of replacing the filter in front of the sensor with one that blocks the visible light and lets only the infrared light to pass. This will give the best results, because you will not need a filter in front of the lens and you will still be able to use the viewfinder, auto-focusing and also normal shutter speeds. It will act like a normal camera but it will shoot in infrared. However, this modification should only be made by a specialist and you should be aware of the fact that once it’s done, you will not be able to take normal photos with that camera.
How to take infrared photos.
If you are just starting with infrared photography you should use the first method of attaching an infrared filter on the lens, without modifying the camera. This method, although more difficult to use for infrared photography will still allow you to use your camera for normal photography. Unlike a modified camera which will allow you to shoot more comfortably, using an IR filter on the lens will make shooting more difficult and you should keep in mind the following aspects:
– Depending on how much your camera blocks the infrared light (some newer and more expensive models block it more) you must use a slow shutter speed that will allow enough infrared light to reach the sensor of the camera. Usually the shutter speed must be 1000 times slower than normal and because of that you need to use a shutter speed of somewhere between 2s and 6s or even between 10s and 30s on some cameras, this also depends on how much light there is on your subject.
– Composing the image and adjusting the settings must be done prior to attaching the filter because you will not see anything through the viewfinder after. You will also need a tripod to make sure you will capture the same image after you attach the filter and also because you are using slow shutter speeds that will make your image blurry if you move the camera.
– Focusing is the real challenge in infrared photography, on a camera without live view, because a lens focused in visible light will be somehow out of focus in infrared and this will be a problem since you can’t use the camera’s auto focus after you attach the filter and manual focusing through the viewfinder is not possible. On the modified cameras auto-focusing can also be re-calibrated but if your camera isn’t modified you will have to guess the adjustment or use a larger depth of field to make sure your subject will remain in focus. However, the difference isn’t very big; it is advised that you focus in front of the subject in visible light, to have a correct focusing in infrared. Closing the aperture a stop or two (f/8 or f/11) as a precaution will also be a good idea, because it will increase the depth of field. Older lenses had a red mark that suggested the correction needed to focus correctly in infrared. However, the easiest way to overcome this is to use a camera that has live view, entry level DSLRs are starting to have this function and you can use it to focus manually.
– Choose a good infrared filter. You will need a filter that blocks the visible light well enough, if not entirely, as some filters allow some of the visible light to pass and this could spoil the infrared effect in photography.
Although infrared photography is not a very easy type of photography, it will give you some of the most unusual images, and once you practice it for some time you will be able to achieve some great and interesting images.
Below are some great examples of infrared photography.
Infrared at Dusk by Dingodave
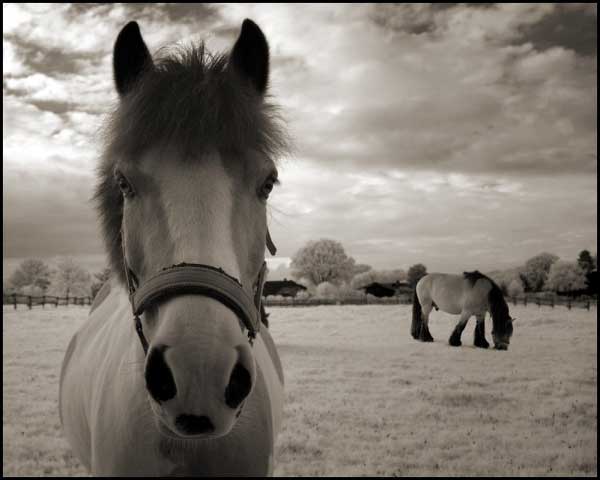
Two Horses infrared by MichiLauke
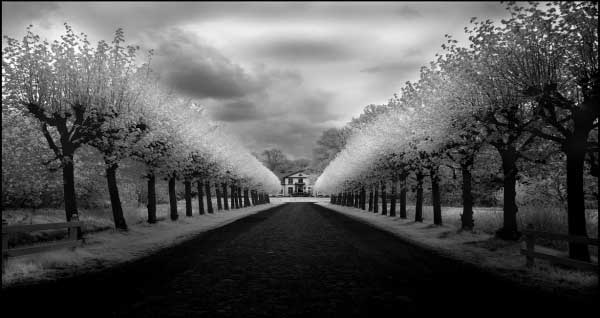
Castle Avenue infrared by MichiLauke
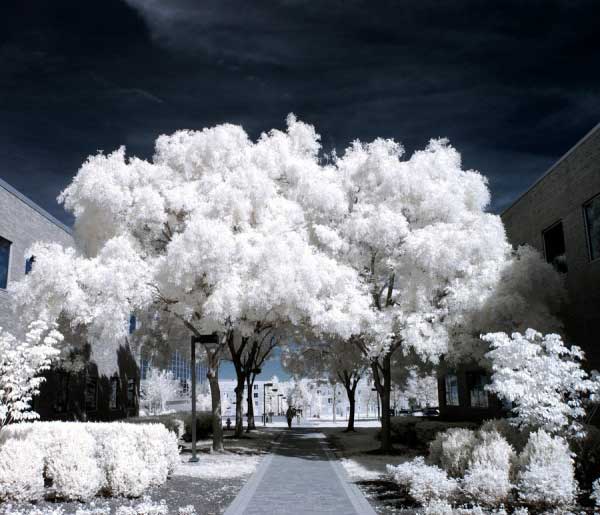
Straightforward Path Infrared by Ilimel
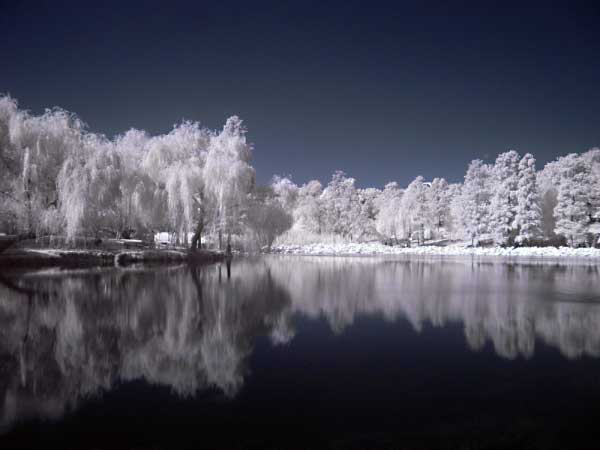
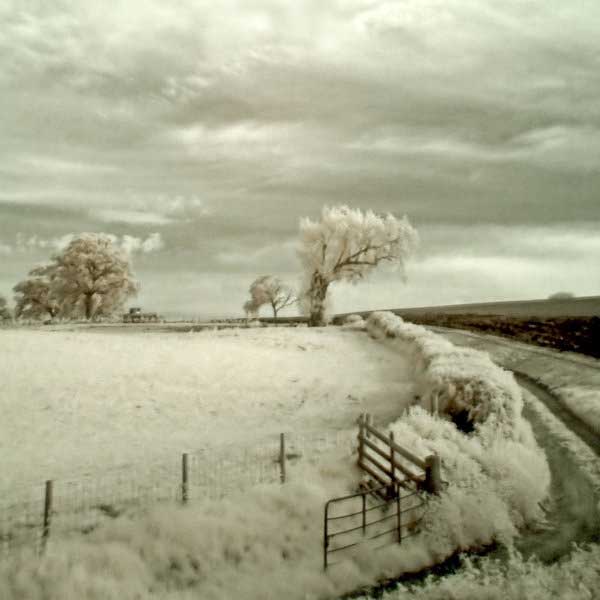
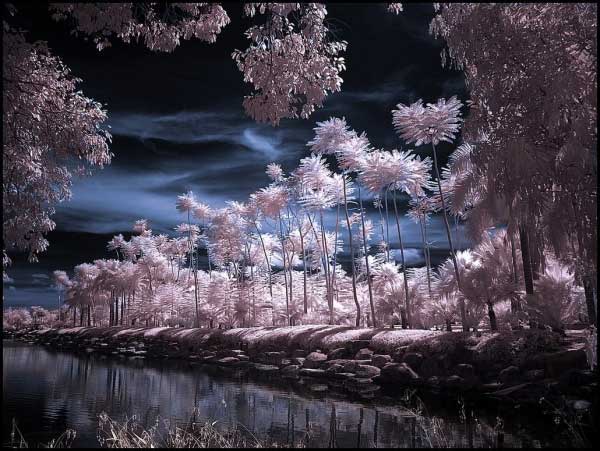
Infrared Lake by Dantudose
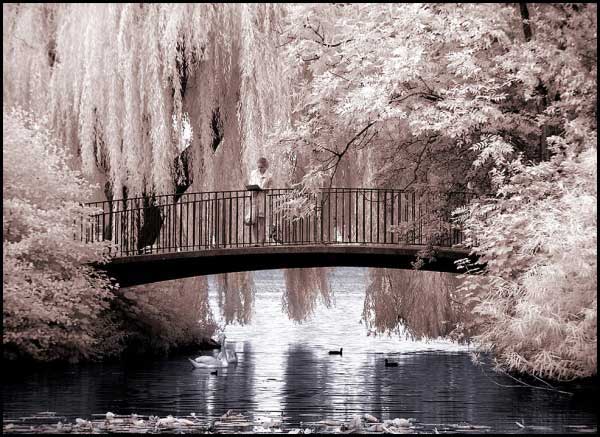
Idyllic Bridge infrared by MichiLauke
Infrared bridge by WrappedUpInBooks
Tropical Garden infrared by MichiLauke
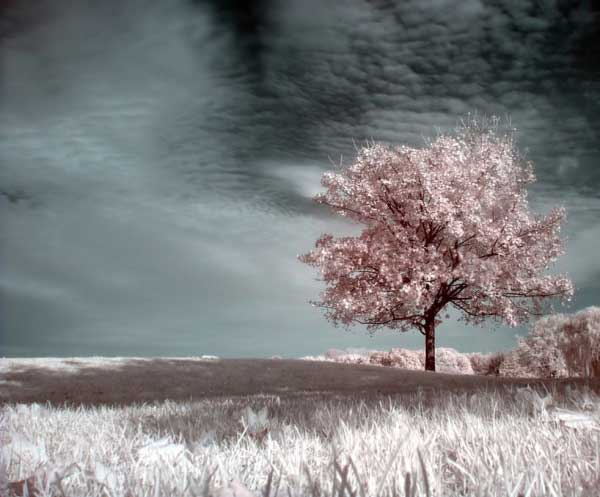
Infrared Paradise by Miracidium
About Author
Valentin Gavan
Valentin Gavan is a self-taught photographer who is passionate about photography. He also does concert photography for an online metal magazine. You can see some of his works via his profile


