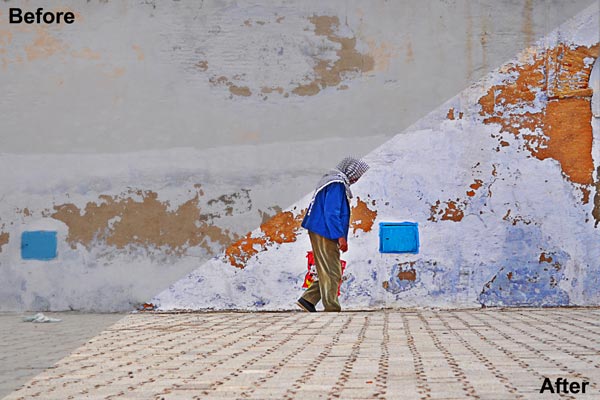
Create a Pseudo-HDR effect in Photoshop
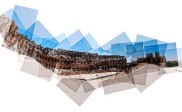
High dynamic Range or HDR photography is based on the blending of several exposures of a particular scene, in order to produce a photo which showcases strong details in shadows, highlights and mid-tones. The images produced through a HDR process are usually, eye-catching, very sharp and color-saturated. These characteristics make the technique very sought-after. But, creating a genuine HDR image requires skill in both the shooting and the post processing stages. You need to create multiple exposures of a same scene; you also need to make sure you use a tripod throughout the shooting stage to guarantee perfect blend of the different photos. And then you should be able to process the images to create a single frame. While it’s always better to do HDR the way it should be done, you can, nonetheless, create a pseudo-HDR effect in Photoshop, using only one photo. This Tutorial will show you how to create this effect in a couple of minutes, to give your photos that vividness and sharpness characterizing HDR photos.
-Photoshop CS2 was used in this tutorial
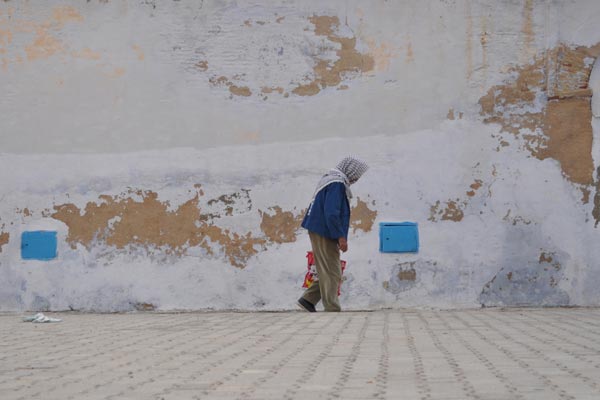
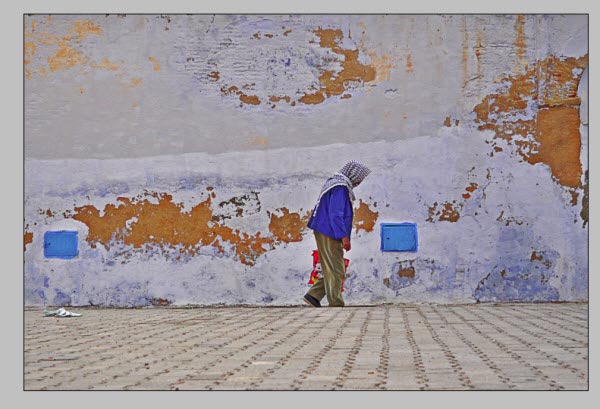
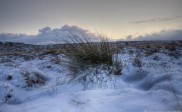
The above picture is fine composition and exposure wise, but it looks very dull and flat and lacks an extra punch which will be provided by the pseudo-HDR treatment.
The first step after opening the image in Photoshop, is to try to bring more detail in the different parts of the image ( in shadows as well as in highlights) The above image didn’t suffer from a big loss in details, so it won’t need a lot of a restitution.
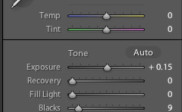
Go to [image>> Adjustments >> Shadow/Highlight]
In the Shadow/Highlight window, you will be presented with a set of sliders which will allow you to bring back details to the different areas of your image. Experiment a little bit with the sliders until you get a satisfying result, where you can see details in every part of your image.
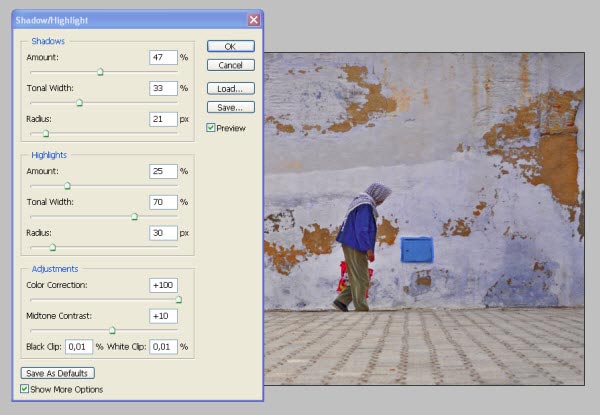
In my case, I made more adjustments on the Highlights sliders to get all the details on the wall and on the ground. I also, pushed the Color Correction Slider all the way to the right side, in order to get more vivid colors from the wall and from the walking man.
The second step consists of sharpening of the image to get a little bit of the gritty aspect we se in most HDR photos. First, you need to duplicate your background layer [Layer>> Duplicate Layer]. Set the blending mode of the top layer to Overlay, then go to [Filter>> Other >> High Pass]
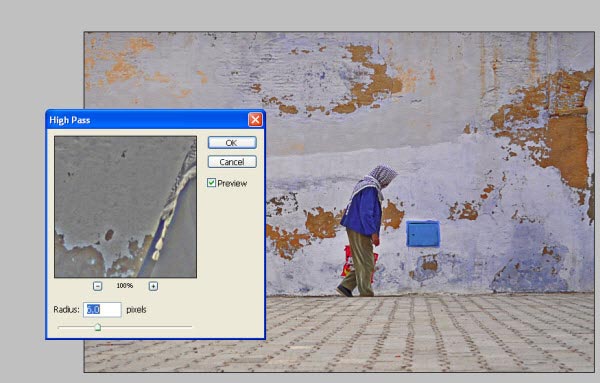
You will set your radius , depending on the image size, but don’t shy away, and give the image as much sharpness as needed. Make sure the preview button is ticked, so that you can see what you are doing instantly.
Next, flatten your image [Layer>> Flatten Image], then duplicate your background layer. Go to [Image>> Adjustments>> desaturate]. This will make the layer black and white. Next hit (Ctrl+ I) to invert the colors and set the blending mode to overlay.
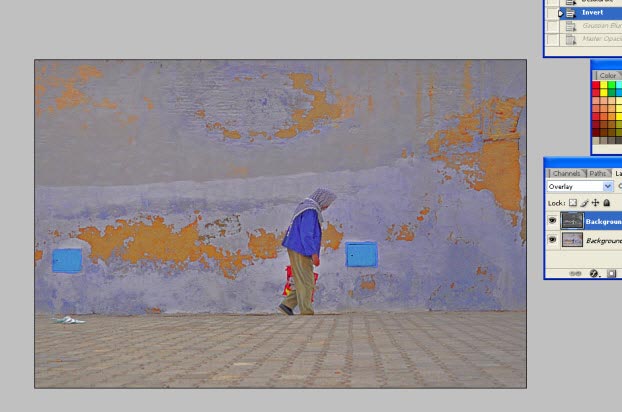
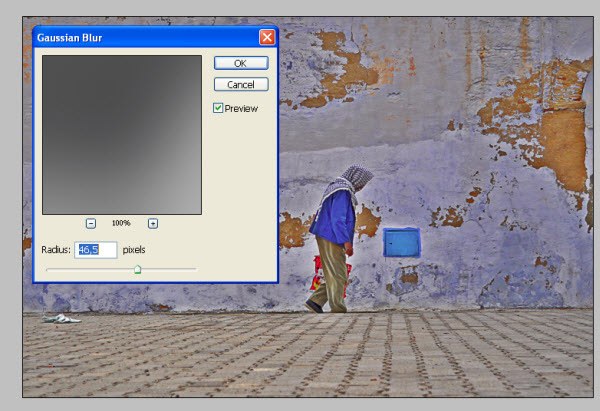
Now, go to [Filter>> Blur>> Gaussian Blur], and set a value high enough to see a kind of a halo around the edges of the elements in the photo. I used a value of 46, 5 and I also decreased my layer Opacity to around 50%.
Flatten your image, and then duplicate the background layer 2 times. This will give you two layers on top of your background layer. Set the blending mode of the first to linear burn and of the second to color doge. Then, decrease the opacity of the linear burn Layer to around 10% and that of the color dodge layer to around 25%.
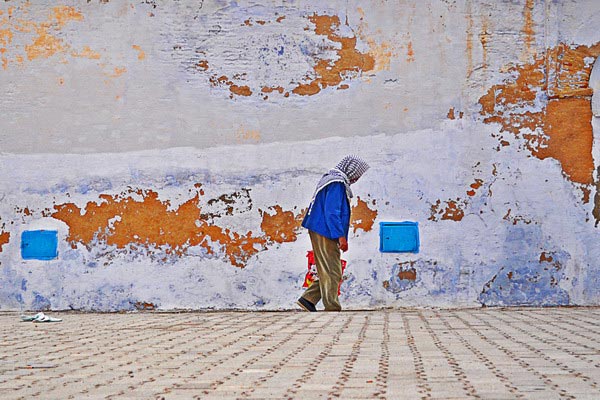
That’s it; now you have an image with a pseudo-HDR look, which took it from a dull flat image to a vivid detail-filled eye-catching photograph.
You can even take it a step further by applying a small “S” curve to the photo, just to give it a bit of contrast [Image>> Adjustments>> Curves].
About Author
Yassine Hakimi
Yassine Hakimi is a self taught Tunisian amateur photographer. He caught the photography virus back in 2006 and has been shooting and learning non-stop ever since.Feel free to visit his profile