HDR Photography Tutorial -Part 1
This article is divided in two parts. In the first part, we will cover every thing you should know about HDR photography , What you will need to create HDR and how to set your equipment, and in the second part we will create a practical example for HDR, which covers Processing the image in Photomatix in details and the Final touches in Photoshop. let’s start with the first part .
Before we begin the tutorial you need to understand a little about High Dynamic Range Photography.
High Dynamic Range or HDR for short is a technique used to extend the tonal range of an image. It is achieved by taking multiple exposures at different exposure values (EV or Stops) of the same scene/image and then over laying them to extend the tonal range in light and dark areas. The technique is needed to extend the range because the human eye is capable of seeing a wider range than that of the camera and by taking multiple shots of the same image and processing them into one HDR image we are able to increase the exposure range and bring out details in shadows and highlights that without HDR would be lost.
You may ask why HDR is needed when photography has survived for so long with out it but HDR is not a new technique it is one that has been around for almost as long as photography itself and like photography, it has become far more accessible with the development of the digital age and therefore has grown in popularity, especially when coupled with Tone Mapping which increases localized details.
Hopefully you now understand a little about what HDR is so let’s create our first HDR Image.
What you will need:
There are a few things that you will need to create a successful HDR Image, you may get by without some of this gear but if you want to ensure the best results this equipment really is a must.
- A Camera: preferably a Digital SLR as most will have settings for Auto Exposure Bracketing and Shutter Priority (more on this later).
- A sturdy Tripod, I recommend Manfrotto. They are light weight and very sturdy.
- A Remote Release switch. This is possibly the least important as you can always set the timer or the camera.
- A computer with HDR Software and photography software. For the Purpose of this Tutorial we are going to use Photomatix for the HDR and Tone Mapping and any post processing in Photoshop CS4.
Setting up:
Ok so you have all the equipment let’s set it up.
Firstly, either set your camera to Shutter Priority or if you are confident at using all the settings set it to Manual Mode. I prefer Manual but I quite at home with my Camera now.
Set the camera’s ISO as low as it will go.
Set the camera to shoot in Raw, Jpeg will still work but for the best results use RAW as it has more flexibility if post production is necessary.
Now set the Auto Exposure Bracketing, if your camera does not have it then you will have to set the exposures manually. My bracketing will allow me to set 3 different exposures at 1/3 stops. I usually set it to take 3 shots at 0,+1 & -1. Quite often I will set it for a 2nd set of exposures to extend the range to include -2 & +2 but this isn’t always necessary.
Set the camera to High Burst Shooting if it has the option. This will allow the camera to take all 3 shots in quick concession with just one push of the remote release switch. It will even work if using the timer instead of a remote release switch. The only other alternative is to take the individual shots but if you are not using a remote release this may result in slight differences in the 3 images and this may cause ghosting when processing.
All that is left now is to set the camera on the tripod, compose your image and take your shots.
Before we move on to the next step, we have covered the Do’s of setting your camera for HDR but not the Don’ts. So here is a quick run down of the Don’ts.
Don’t set the camera to Aperture Priority or Automatic mode, as this may change the Depth of Field between each shot taken and will not produce the right result.
Don’t set a high ISO. This will introduce noise in the image, which is the cancer of photography.
Don’t move the camera between each shot or change the focal length. This will change the perspective between each shot.
Don’t use a flash, it won’t work with Auto Exposure Bracketing and setting the Auto Exposure will set the correct shutter speed. If it is on a Tripod the shutter time will be insignificant.
Don’t try and shoot moving objects unless you intend to create your HDR from one file (We’ll leave this for another tutorial).
And finally
Don’t be afraid to experiment.
That is the end for the first part and tomorrow we will discuss the next part, which will cover Processing the image in Photomatix in details and the Final touches in Photoshop.
About Author
David
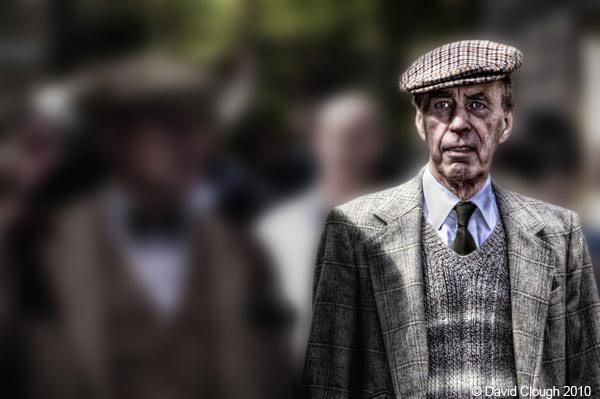
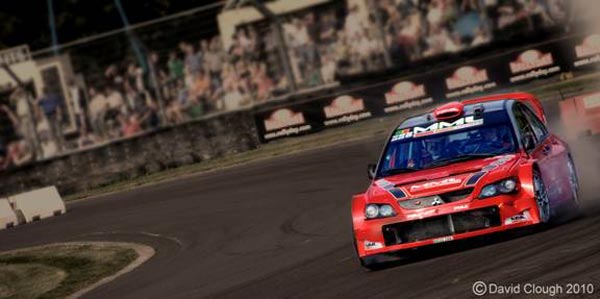
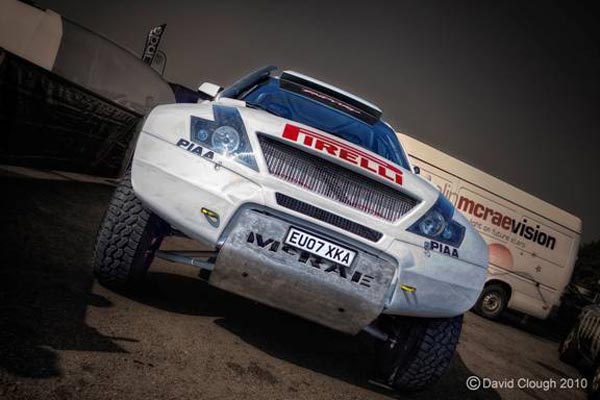
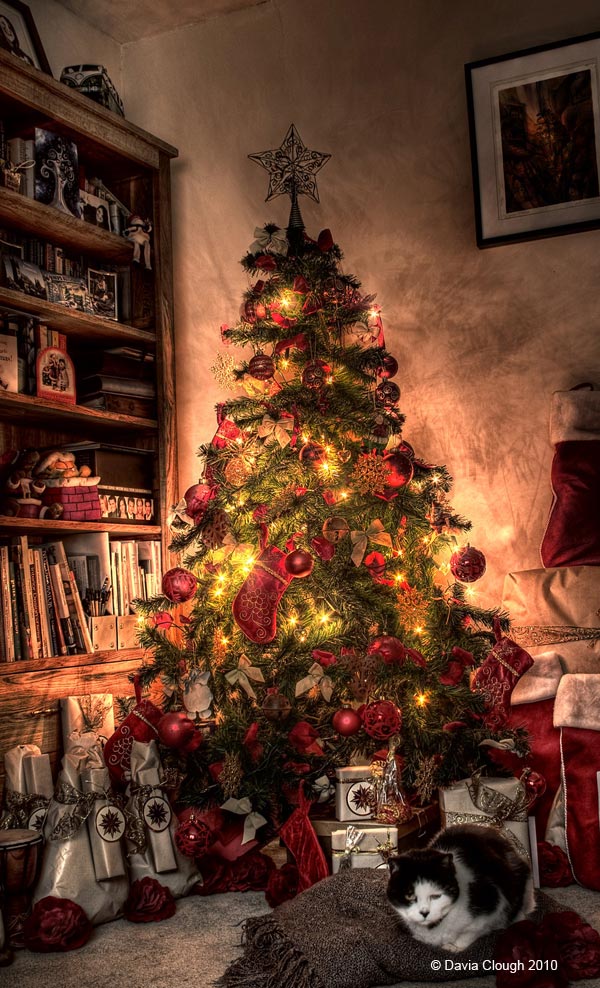
David is a dedicated photography enthusiast who specialises in HDR Photography. David hopes that one day he will be able to take his work on a professional level and feels that the way towards this is to ensure that he learns something new each day. A collection of his work can be seen by visiting his Profile on DeviantArt

It has been a pleasure for me to read this post. Good Stuff!
It has been a pleasure for me to read this post. Good Stuff!