How to Create a Panograph
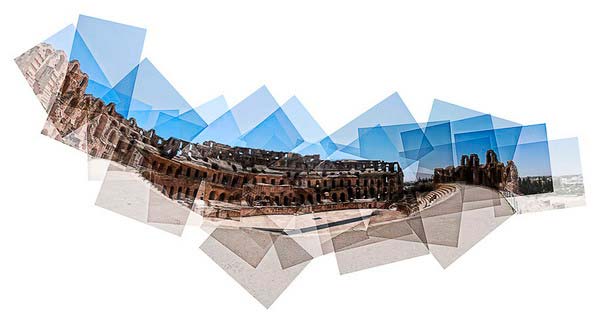
Creating panoramas with software that does the entire trick by itself can be fun. But, what’s even more fun is creating that panorama manually, shot by shot in a new and, to an extent, crazy way. It’s called Panography, and it can take you to a whole new level of photographic creativity. Panography consists of the creation of a photo collage of many shots of the same place in order to obtain a panoramic view of the scenery. It differs from classic panoramas by the fact that it doesn’t follow a strict way in taking the shots and the actual stitching of the different photos is done by the photographer, one photo at a time. The stitching is done in an editing software, like Photoshop, thorough the use of multiple layers of different opacities, which gives the photo a special effect.
So, there are two major steps in the creation of any panograph: the shooting stage and the editing stage. This article will provide you with the necessary knowledge to succeed throughout the whole process.
Stage1: The shoot
While the rules for shooting panographs aren’t as strict as those concerning classic panoramas, there are still some guidelines and tips you should follow in order to make sure you go back home with usable shots. The first thing to consider is your subject. While you can shoot anything, you will get a better final result if you choose the scenery you are going to cover properly. Your panograph will most probably cover a huge surface. So, it’s a good idea to find scenery with an imposing element such as a historic monument, a huge building, an interesting architecture. One thing to keep in mind, the bigger the better! Also, when choosing your subject, pay close attention to the light, and try to shoot it under the best conditions. Beautiful light will provide you with breathtaking images no matter the photographic technique you are using. Don’t concentrate on the technique and forget the essential elements of photography: light and subject.
Setting the camera:
Once you found the scenery you want to shoot, it’s time to adjust your camera settings according to the kind of photos you will be making. First, set your camera to record the photos as medium sized JPGs. You don’t need big files, as you will be resizing the photos anyway, in post processing. You can leave your camera on automatic, which will give you different exposures from shot to shot, an effect sought by many Photographers making panographs. But, I prefer having a constant exposure throughout the scenery, so I set my shutter speed and aperture manually. So , after taking some test shots to determine the proper setting , I set the camera on a shutter speed fast enough for handholding the camera and an aperture small enough (F/8 or F/11) to have a large depth of field. When focusing, it’s better to use manual focusing, choose your focus zone and keep it for all your shots.
In order to be able to stitch the photos properly, you must use one focal length for all the photos. I shot most of my panographs by setting my 18-55mm kit lens on its 55mm end, which provided me with great results.
Taking the photos:
Once everything is in place, you need to start shooting. You don’t need a tripod for this kind of technique, although it can be useful in certain situations where the light is dim. Just stay at one spot all the time and move your camera horizontally through your upper body movement and vertically through your head. Take as many photos as possible. It will give you more variety to choose from afterwards. Also, don’t just shoot in a conventional manner (vertical or horizontal). Take some shots tilted to the left or to the right. Go crazy in all direction and don’t forget to cover every spot of the scenery you are shooting. Although the composition of each shot is not that relevant for the final result, it’s always better to try to imagine what you want to achieve and to try to capture the photos in a way that would help achieve your goal. For example, you can follow the movement of a passenger or a vehicle through different frames which will give an interesting effect in your final image. It will be as if you captured the notion of time.
Stage2: Editing
Back home, you will find yourself with a quite a big number of images which need to be sorted, selected and stitched together. You need a software such as Photoshop to finish your panograph.
First you need to resize your images for easier and quicker manipulation. A size of 800px at the longest side should be fine. You can use the batch resizing option in Photoshop ( a tutorial explaining how to do it) or you can use another software for resizing a big number of photos at once.
After resizing your images, you need to create a new canvas, big enough to contain all your shots. In my case, I created a canvas with a width of 5000px.
After preparing your canvas begin by adding your first photo to it. This will be your reference photo, the one which will help you place and locate the other photos. So, choose a shot with clear details, to facilitate the task of finding where to place the following shots.

After that, begin by dragging one photo at a time to your canvas. Set the opacity to around 50% , hit (Ctrl+ T) which will set the layer on free transform, and then flip , and drag your layer until it takes its place in the composition. Repeat this process with the rest of the shots and your panograph will begin to take shape
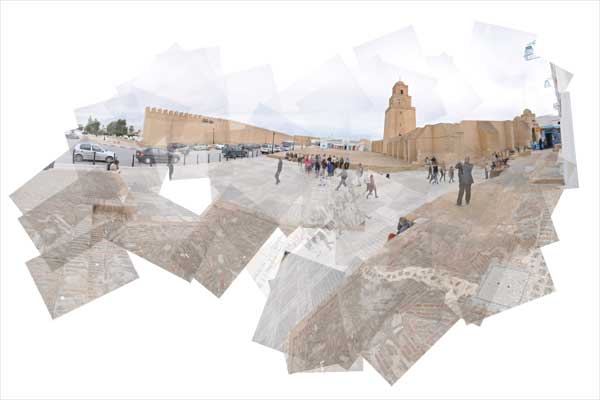
You need to make your selection while adding the photos to the canvas. You don’t have to include every shot you took in the panograph, as some shots cover approximately the same surface and others won’t just fit. So, you will have to decide which photo to keep and which one to discard after trying it on the canvas. After quite some time (2.5 hours and 57 photos in my case) you will get your final result.
The editing doesn’t stop here. Now you need to do basic photography editing, to add some sharpness to the photo and to adjust contrast and colors.
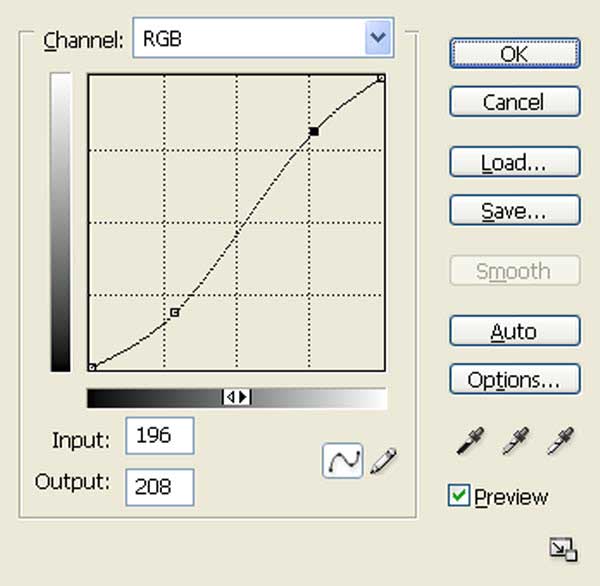
First, you need to flatten the image in order to be able to work on all layers at once (Layer> Flatten Image). After that, go to (Image> Adjustments> Curves) and give your image an “S” shaped curve to add a nice contrast to it.
Next, you can add some sharpness, since it will be lacking it, because of the use of multiple layers at low opacities. For this, duplicate your background layer and set the blending mode on overlay. Go to (Filter> Other> High pass) and set a radius of about 2 pixels. You will see the result immediately and your image will look sharper.
That’s it, now all you have to do is to save your image and to be proud of yourself!
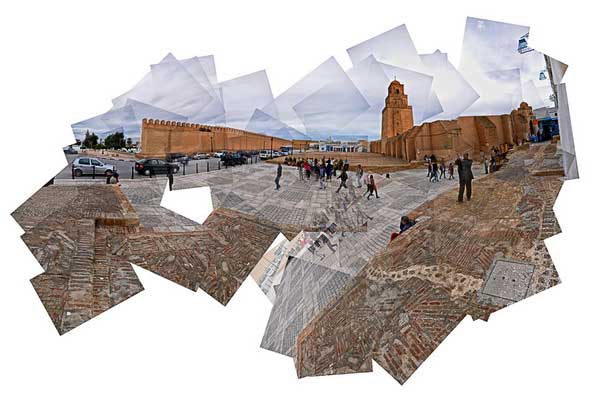
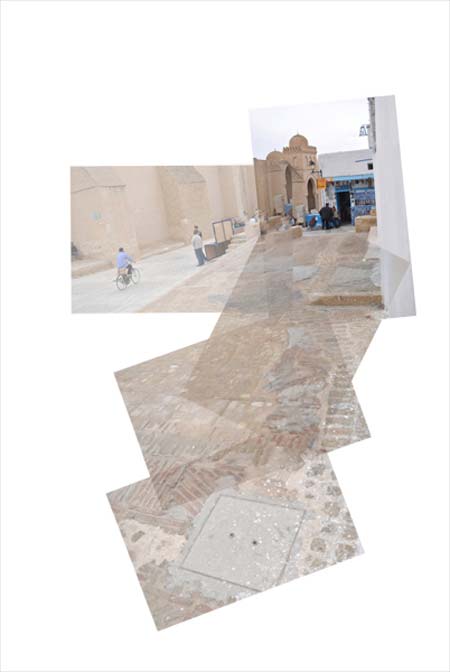
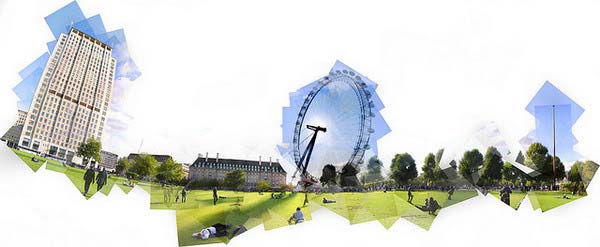
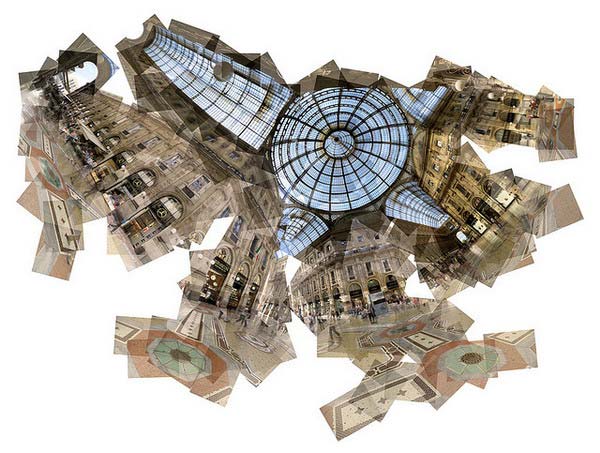
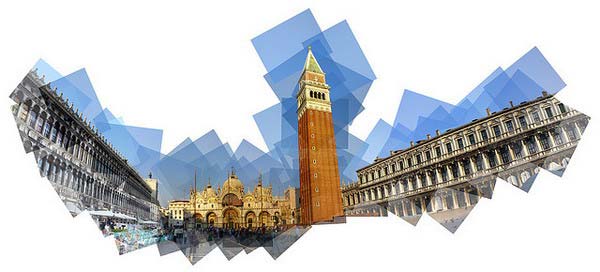
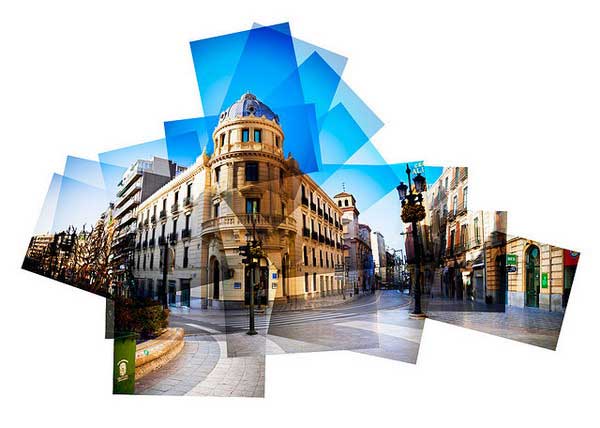
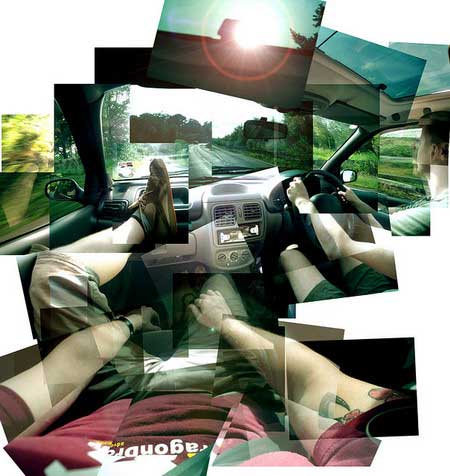
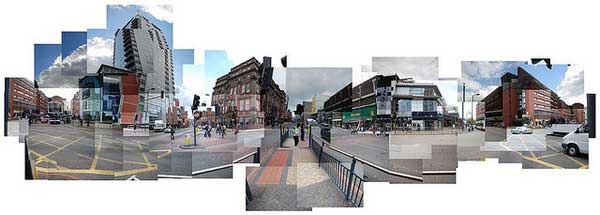
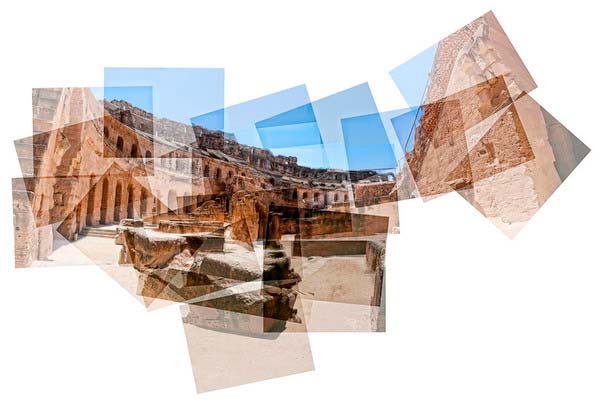
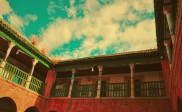
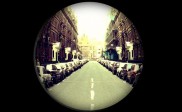
Here are some great examples of Panography:
About Author
Yassine Hakimi
Yassine Hakimi is a self taught Tunisian amateur photographer. He caught the photography virus back in 2006 and has been shooting and learning non-stop ever since.Feel free to visit his profile

Fantastic info, I think I am going to try this at the Christmas market in Manchester!
Good luck 🙂
Wow! this is really fantastic.
Amazing (:
Thanks for this. I feel inspired. Must try.