How to Crop in Post-Processing to Get the Most Out of Your Shot
When taking pictures, a general rule of thumb is to compose the shot in-camera with the intention of making it as near as how you would want it as the final output. However, when composing, it is ideal to leave a bit of space at the sides as leeway for cropping options. Getting close to your subject may be appropriate in many cases, but getting too close could mean you might be accidentally cutting out parts of the subject or scene that should have been left visible. The main advantage of having that extra space in the original shot is that you can have more options to play around with the cropping in post-processing.
Crop to Remove Background Clutter
If you find some background distractions at the edges of the photo that you have taken, you can either remove them by cloning or healing them in post-processing, or simply by cropping them out of the frame. For example, this uncropped photo below shows the back part of a crocodile on the upper right corner:
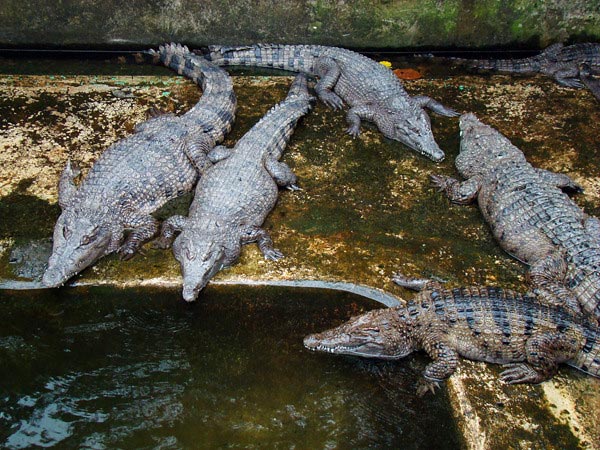
Photo by Lightstaff
You can crop that portion out and you will end up with a tighter shot that looks like this:
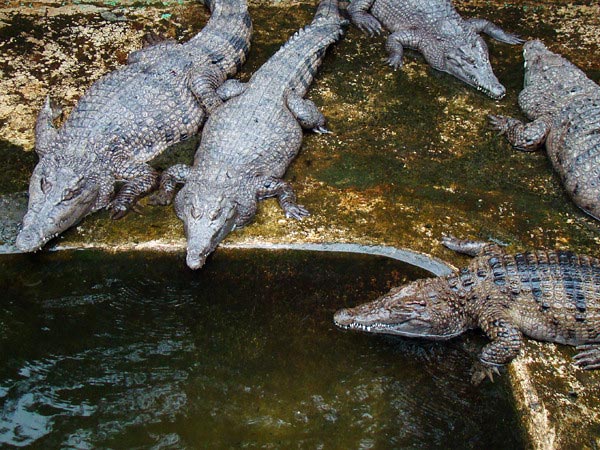
Photo by Lightstaff
Crop to Play with Composition
Cropping also allows you to experiment with composition even after you have photographed your subject. You can crop to focus on specific areas in the frame:
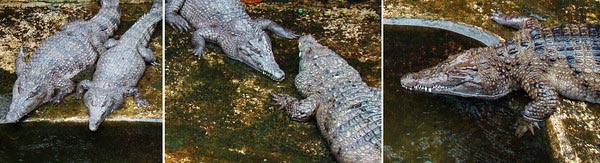
Photo by Lightstaff
Remember that when you crop, you are removing pixels, which in turn affects the image size. This could become a problem if your original shot has a small image size or if you crop too tight and remove most of the pixels. You might end up with a photo that appears tiny, especially if you want to print it out. (For this reason, it is still best to get it right in-camera and to take several shots of the subject in various compositions rather than having to fix the shot in post.)
Experiment with Image Orientation
The dimensions of a crop are flexible. You can crop a vertically oriented photo and give it a horizontal orientation and vice versa. You can also do a square crop if that would provide the best presentation.
Original uncropped photo (vertical orientation):
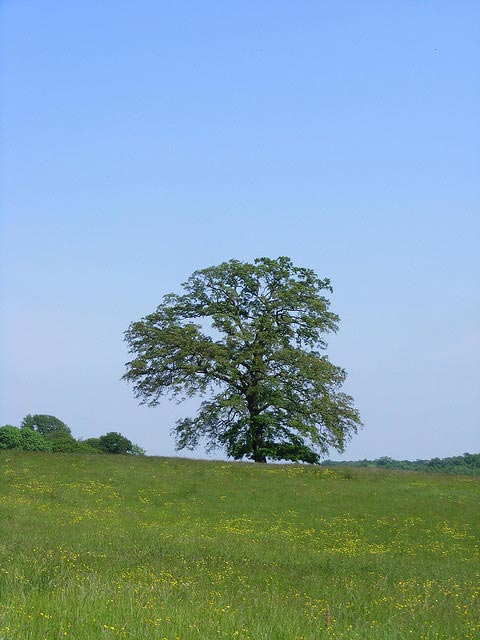
Photo by Andrew Wilkinson
Cropped samples (horizontal orientation):
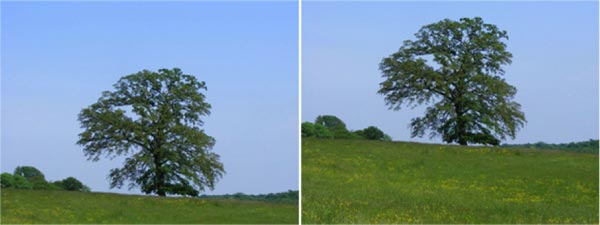
Take note that the left photo shows more sky and background while the right photo shows more field and foreground. Cropping in a certain way can leave various impressions in how the scene is interpreted. Oftentimes, there is no “best” way to crop a shot, it is the photographer’s preference on how the subject is to be presented, and this is generally subjective.
Crop to Make the Subject Appear Closer
A tight crop can give the impression that the subject is very close to the camera. This is ideal for subjects that appear too far to be appreciated, or if you want fine details to be more clearly seen. There are times when you can’t physically get close to the subject because of a barrier or the subject is dangerous (such as with the crocodile photos above). Also, your lens may not be capable of getting very close to the subject without starting to lose image clarity and definition. A crop could be a quick and effective solution to still get a close up view of the subject.
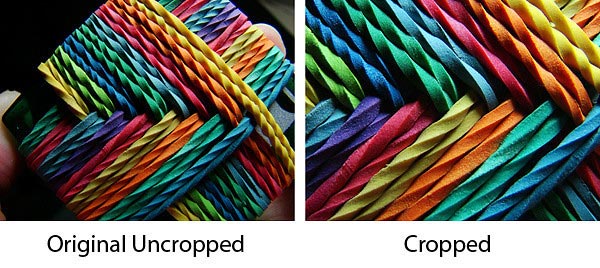
Photo by Lightstaff
TIP: To keep the image dimensions the same while cropping, drag the crop tool and select the entire image, then press and hold the Shift key while you expand and contract the crop area using one of the four corners.
About Author
Kristine Hojilla
Kristine is an avid amateur photographer from the tropical Philippine islands. She always tries to capture the extraordinary in mundane objects and scenes. Feel free to visit her profile here to see more of her works


thank you for the tips
i will try your tips 🙂