How to Get a “Correct” Exposure
In order to get technically perfect images you need to learn how to get “correct exposures. The exact amount of light needs to enter the camera, no more no less. For this purpose, you have to get familiar with the concepts of aperture, shutter speed, ISO, under-exposure and over-exposure. These concepts will allow you to control your exposure and to change the effects rendered by the photo. Also, you have to be aware of the different exposure metering methods that are available to you and when they need to be used.
Understanding Exposure
What is Exposure?
In photography, exposure is the quantity of light reflected by a scene and that will be saved on film or on the sensor of the camera. It is either determined by the camera (automatically) or by the photographer through three parameters: Aperture, shutter speed, and ISO setting (film speed).
Aperture:
Aperture is the variable opening through which the light enters the camera. It is controlled through the diaphragm, the lens element that determines how much light hits the camera sensor. A wide open diaphragm will let a large quantity of light in, while a diaphragm set to a small opening will only let little light to pass through the lens. Different aperture values are indicated by a system of numbers, usually noted as F+ number. The smaller the number, the wider the aperture. Thus, an aperture of F2.8 provides double the quantity of light that an aperture of F4 lets into the camera. The typical aperture values are: 1.4-2-2.8-4-5.6-8-11-16-22.

Shutter Speed:
Shutter speed is the element within the camera that determines the period of time in which the camera sensor will be exposed to light. So, the amount of light hitting the camera sensor is proportional to the duration of the exposure, i.e. for a shutter speed of 1/100s the camera sensor receives double the light received in an exposure of 1/200s.
ISO (film speed):
If you increase the ISO value the film or the camera sensor will become more receptive to light. As a result, the exposure will require faster shutter speeds and/or smaller apertures.
Under & Over Exposure:
In general a correct exposure will translate to a photo where detail is discernable in both shadowed and lit areas. A photo where the shadow detail is t lost is said to be under-exposed while a photo where detail in bright areas is lost is described as over-exposed. While it’s wise to avoid these two situations, sometimes, you will need to under/over-expose you shot in order to produce the desired effect. For example, Under-exposure can offer you great results with silhouette photography and an over exposure is needed to produce a high-key portrait.
Choosing the Right Metering Mode:
All digital SLR cameras have a built in light meter to determine the correct exposure that you need either to set manually or to let the camera set it automatically. Most cameras have 3 different modes which you can use to measure the light:
-Matrix metering
-Center-weighted metering
-Spot metering
Choosing the right mode depending on the situation and the technique you are using is crucial to get correct exposures.
Matrix metering:
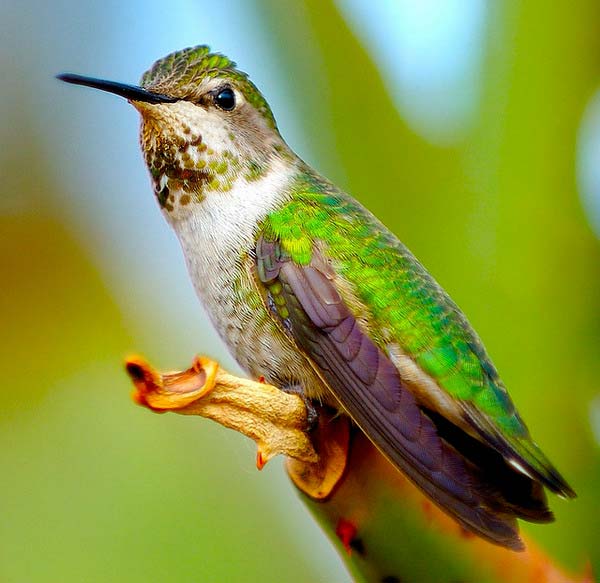
Photo by Danny Perez
In this metering mode the camera analyses all the areas of the frame and evaluates the different light conditions in the image, in order to choose the right exposure. Although it works perfectly in most cases, especially when mid-tones are prevalent, it can sometimes induce some problems. For example, this metering mode can produce an under-exposure effect on the soil if you are taking a photo of a landscape where the sky is occupying most of the frame.
Center-weighted metering:
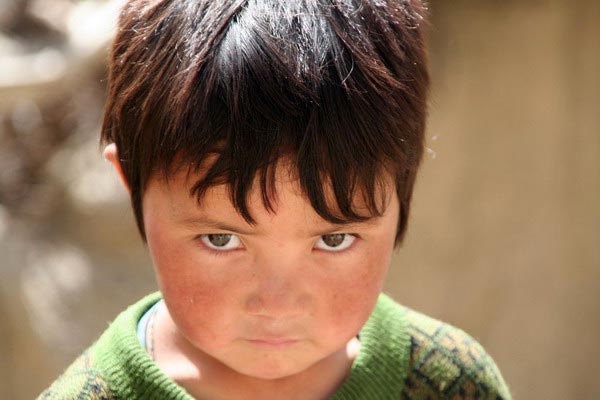
Photo by alles schlumpf
In this mode, the camera also measures all the areas within the frame, but this time it favors the center zone and gives it supremacy over the rest of the areas. This mode is suited for shooting backlit subjects. You can measure on your subject to make sure it will be properly captured. This kind of metering is also suited for taking portraits and snow photos.
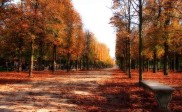
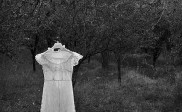
Spot metering:

Photo by marfis75
This mode measures a tiny portion of the image. It permits a very precise metering of a particular spot in the photo. It’s easy to get things wrong when using this mode, especially if you are just beginning in photography. This metering mode can be used, for instance, in concert photography. You can take a precise exposure measuring on the performer’s face without having to worry about all the lights. You can also use spot metering to take silhouette shots by taking your exposure measuring on the sun.
Some Tips for Taking “Correct” Exposures:
– Taking several spot metering measures: You can use spot metering to take several measures, in dark areas as well as in bright areas. Then, set your camera on an exposure between all the measures you took. This method will guarantee you get a balanced exposure.
-High contrast situation: When faced with a situation with a high contrast between light and shadow areas, make sure to measure your exposure on your main subject. Center weighted metering is suited for such situations.
-Exposure Bracketing: Sometimes, the lighting in a scene is too complicated that you can’t get a correct exposure whatever metering mode you try. In this case you may want to use bracketing. Through this process, the camera takes three photos or more instead of just one, with a different exposure at each shot. You can choose afterwards, the exposure that works best for you among the different images.
– Using point and shoot cameras: Point and shoot cameras don’t provide the luxury of choosing between different metering modes. But, they are equipped with an exposure compensation system through which you can under/over-expose a photo in order to get the correct exposure. For example, consider under-exposing pictures of black objects. The camera meter usually over-exposes such objects which will make them look grey. It goes the same for white objects. The meter under-exposes them, so consider over-exposing by up to one stop to get the white color right.
About Author
Yassine Hakimi
Yassine Hakimi is a self taught Tunisian amateur photographer. He caught the photography virus back in 2006 and has been shooting and learning non-stop ever since.Feel free to visit his profile
