How to Take Amazing Bokeh Photos
In photography Bokeh refers to the area out of the focus range and which looks blurred. More precisely it’s used to describe the light area in the blurred background which takes the shape of the lens diaphragm. This blur will help in isolating the subject from the background and will bring more attention to it. It can also be used for purely aesthetic and artistic reasons. Many elements interfere in the creation of a beautiful Bokeh. Following are some tips to help you produce this amazing effect.
The Depth of Field:
This is the most prominent element in the creation of a Bokeh effect. You will need a very reduced depth of field which will make the background totally blurred. The most straightforward technique to get a small depth of field is to use a very wide aperture (F/ 1.8 and less). It’s true that the best results will be achieved with a lens which can use an aperture of 1.4 of F/1.2, but since this kind of lenses is usually very pricey, you will find good alternatives in the F/1.8 area. The 50mm F1.8 prime lenses from Nikon or Canon are a good bet. They will provide you with a descent Bokeh effect for a price around $100.
In order to get a reduced depth of field, you can also use a telephoto lens. The longer the lens the less depth of field you will get. So, any zoom lens which goes above 70mm can provide you with a Bokeh effect if used properly.
Finally, you can also move your subject away from the background. The longer the distance between your subject and your background the less depth of field there will be. When shooting with the intention of capturing a Bokeh effect, think of combining the above techniques. You can for example use a 50mm lens at F/1.8 and with the subject far away from the background.
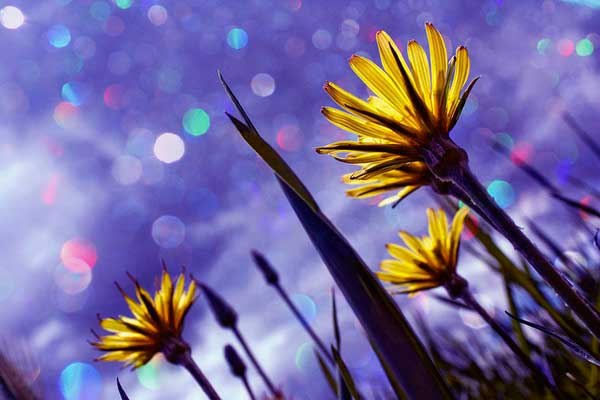
Photo by Zyllan
The background:
The second important element in the creation of Bokeh is the background. You need to work on your background in order to get those round shaped light areas. A neutral plain background won’t be of great help, as it will most probably give you an image with a plain and neutral blurred background. You need to find a background where there is a clear contrast between shadow and light areas. The contrast can be in terms of lighting or in terms of colors. Usually Bokeh is created at night with the abundance of street lights in the background which provides good material for the creation of Bokeh.
The shape of Bokeh:
The last element contributing to the Bokeh effect is its shape. In fact, the Bokeh takes the shape of your lens diaphragm. Lenses differ by the number of blades used in the construction of the diaphragm. The more blades it has the smoother the shape of the Bokeh effect will be. This is why you will notice that you will get perfectly round Bokeh shapes with a top-notch lens while you will get a Bokeh effect with more edges with lower quality lenses. Many photographers take this shape issue a step further and create their own Bokeh shapes through a filter.
Creating Bokeh in different shapes:
It’s quite easy to change the shape of the Bokeh from the conventional round shape, to whatever shape you want. It can be done trough placing in front of your lens a piece of paper with the shape you want carved out from it.
Here is what you will need:
-A piece of black paper
-some scissors
-A cutter
-A lens with wide aperture capabilities
-A UV filter (optional)
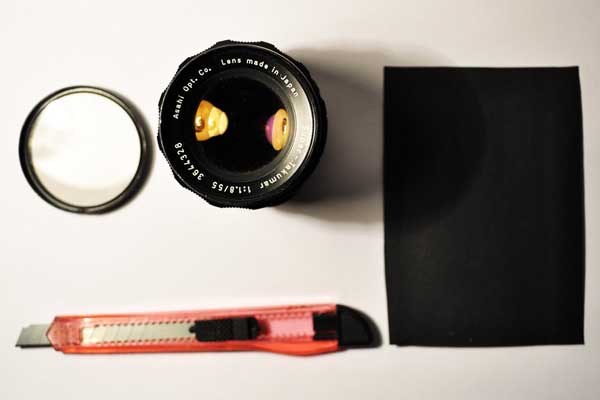
Photo by Yassine Hakimi
Use your UV filter to draw a circle on the black paper. Then, cut the circle slightly smaller than the shape you drew. This will ensure it fits easily between your lens and the UV filter.
After that, draw the shape you want to see in the Bokeh on the circle you just cut, and carve that shape out of the paper. In my case I drew a star, and after I finished carving it out with the cutter, it looked like this:
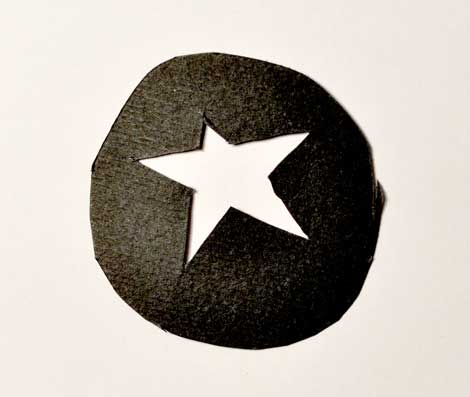
Photo by Yassine Hakimi
That’s basically it. All you need to do after that is to place your Bokeh filter on your lens and to block it with your UV filter. If you are not using a UV filter you can attach it to the lens with some duct tape. With your new Bokeh filter on, you will be able to produce surprising Bokeh effects that will leave the viewer in awe. Just make sure to follow the above tips and guidelines to get a great result.
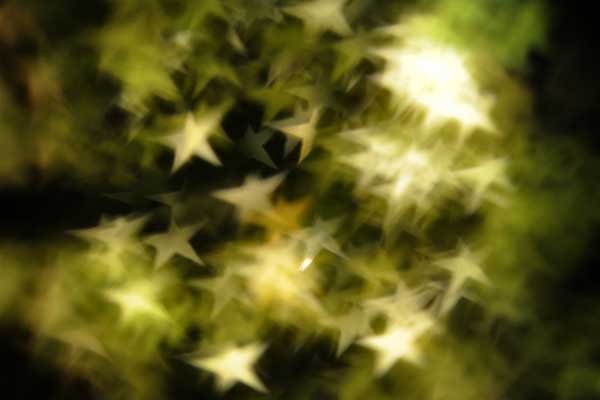
Photo by Yassine Hakimi
Here are some more amazing Bokeh photos:
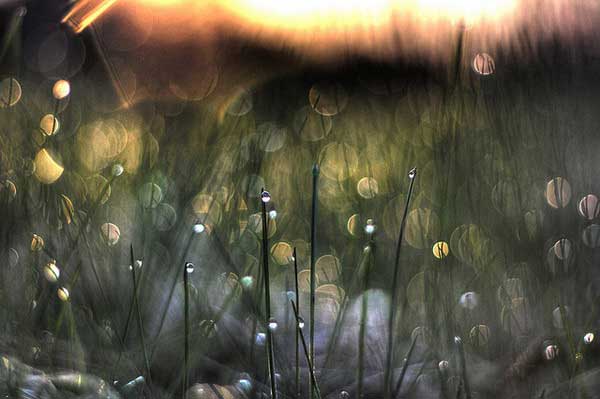
Photo by MightyBoyBrian
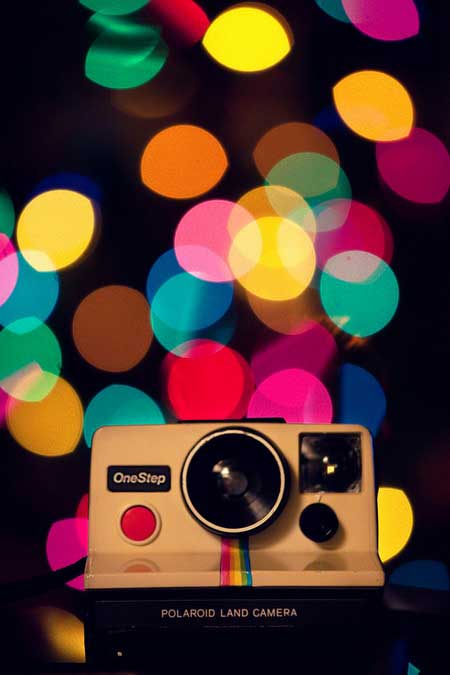
Photo by Brandon Christopher Warren
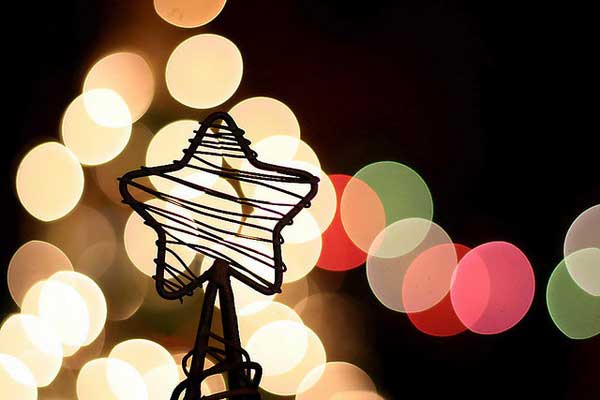
Photo by ~K~
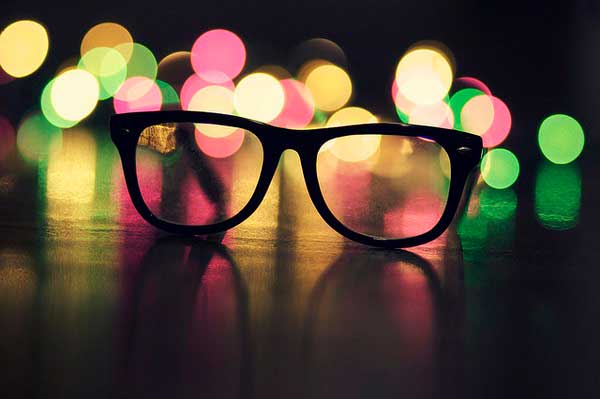
Photo by Graham Blackall
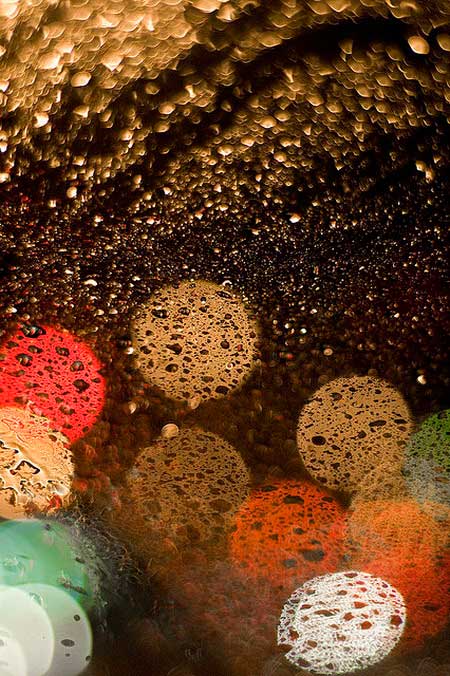
Photo by applejan
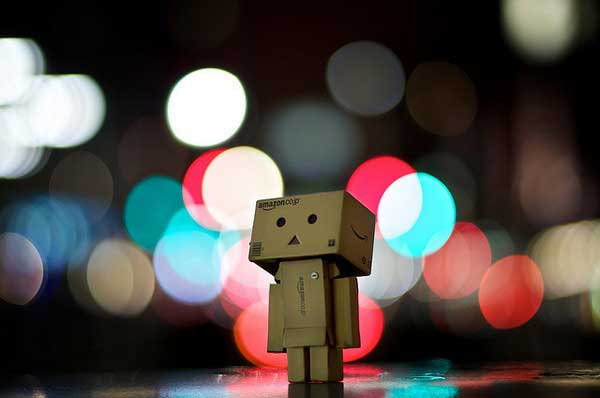
Photo by jnap
You may want to take a look at the following related posts:
About Author
Yassine Hakimi
Yassine Hakimi is a self taught Tunisian amateur photographer. He caught the photography virus back in 2006 and has been shooting and learning non-stop ever since.Feel free to visit his profile


Nice tutorial thx ^^