Scanography : Make photographs without using a camera
If you have a scanner at home, put it to use not just to scan documents and old photographs, but also to create art! Photograph-like images can be produced using a flat-bed scanner. Your scanner can be used to create great close-up shots with stunning beauty. This is known as ‘Scanography'(also known as ‘scanner art’ and ‘scanner photography). Scanography is photographing without a camera by using a scanner to create hyper-real images.
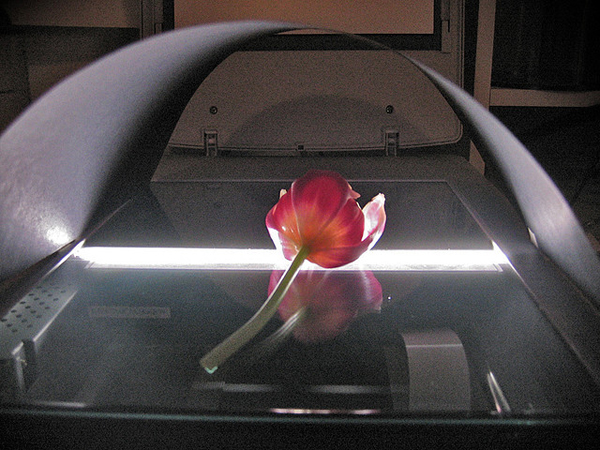
Photo by tonyanthonye
Here’s how it works:
Step 1:
Before you start with creating images using scanography, make sure the glass platen of the scanner is clean. This is very important as even a tiny dust particle will show-up in your final image.
Step 2:
After cleaning the scanner, arrange the object(s) you want to photograph. Use your creativity and imagination to do this! It could just be a slice of a tomato or a collage of various things you like. Movement of the object placed will create a different effect.
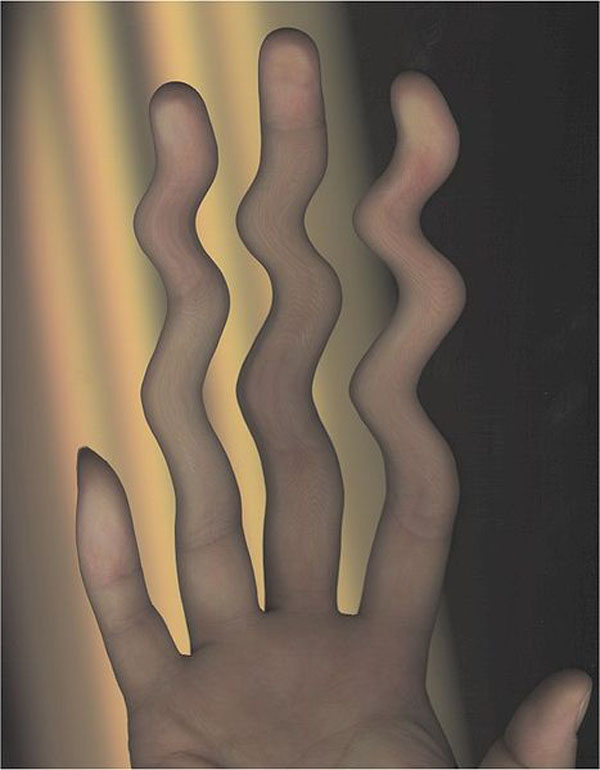
Photo by Wikipedia
Scanners were not originally made to create art, placing liquids and other objects can leave scratches on it. Make sure to use a plastic barrier between the objects and the glass platen. Also, after you are done with the process, clean the glass platen if there’s any pollen on it to avoid scratches.
Step 3:
Press the object (if possible). This is because the depth of field of the scanner is low, the closer the object is to the glass bed the sharper it will get. You can avoid this step if you want to get a blurred-effect in some parts of the image.
Step 4:
Once the object is ready to be scanned, ‘preview’ it in the scanning software and adjust the objects if required. Repeat this process until you are completely satisfied. You can also adjust the exposure of the scanner.
Step 5:
Scanner photography is not very different from scanning your documents or old photographs. Just set it to the highest resolution possible (this helps in getting more details) and hit the ‘Scan’ button. Keeping the lid of the scanner open in a dark room will create a beautiful black background.
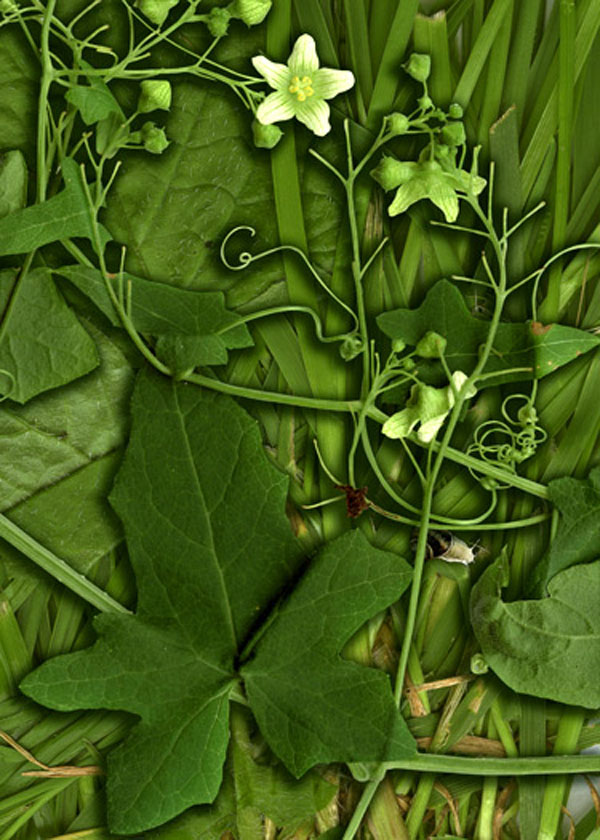
Photo by Christian Staebler
Step 6:
If you think the image can be made better, use Photoshop or any other photo-editing software to make the essential adjustments.
You can also use the feather tool in Photoshop to remove the background or to change it.
If you want to change the background color, it is better to have a white background originally; this can be achieved by putting a white tissue over the objects after arranging them on the scanner’s glass platen. It is easier to cut out the white background.

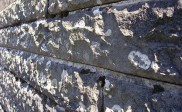
Photo by Mary C Miller
Push your scanner to its limit, use your imagination and create beautiful macro-photography with stunning realism and make your work stand-out. Remember it takes only a few minutes to learn the skill, but practicing the art will make you better at it. So go ahead and try it!
Tips:
- Use a lint-free cloth to clean the scanner-glass.
- When previewing your image before it gets scanned, view it in the large view mode of the photo-editor, so that you can easily see if there is any dust-particle on the image.
- Have fun while you are doing it!
About Author
Lipi Bharadwaj
Lipi Bharadwaj is a student of mass communication and journalism with a passion for photography. You can see her blog here.

The article is very precise and informative. i really like it. great job lipi. 🙂
Ingenuity…creativity….
I find the person that is probably the best at scanography is Mike Leale. Check it out. http://www.mikelealescanography.com/scanography/scan-1.html
Very helpful, will be trying out soon.