Smoke Photography Made Easy
In order to succeed in photographing smoke, you need precision and knowledge. It’s really easy to ruin a smoke photo because of not knowing and controlling every aspect of the shot. You don’t need sophisticated equipment to take satisfying images, but you need to know how to set your lighting and camera properly, and you also need to learn some skills in photo editing.
Basically, all you need is a camera, a light source and a smoke source. After that, you have to follow a few tips to get perfect smoke art photographs.
What you will need:
– A camera: Ideally, a DSLR which will allow you to focus manually and to set the different values of ISO, aperture and shutter speed. You can use the kit lens which comes with your camera or a prime lens like a 35mm or a 50mm.
– A black background: You can use a black paper or a black t-shirt.
– A tripod: You will set the camera on it and it will be great for keeping the camera in one spot, since you will be focusing manually.
– A light source: Ideally, an external flash unit which will give you the light you need for such photos. But I managed to get decent results with only a desk lamp as a light source. Just, make sure to acquire the strongest light bulb possible.
– Incense: Try to get incense which is in the shape of sticks .you can burn them and they will keep producing smoke for quite a long period. Of course, you can find other things which produce smoke, but with incense you will get with the great photos, sweet smells.
– An editing program: Any basic editing program which provides tools to adjust contrast, levels and curves should do. If you want to produce more sophisticated abstract effects, you will have to use a more advanced program like Photoshop.
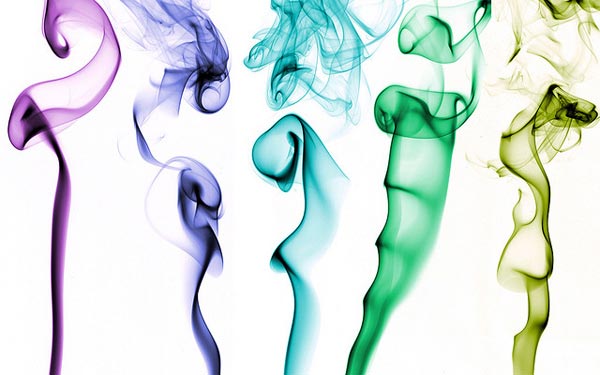
Photo by Kevin Pelletier
How to take the shot?
The only element which might be a sort of a problem in smoke photography is lighting. You need a very strong light source, and unless you have an external flash, you need to use the strongest light source you can get. The reason behind this necessity of a powerful light is that you are going to use fast shutter speeds to stop the motion of the smoke and small apertures to get large depth of fields. Smoke expands quickly and unless you have a depth of field large enough you will get some parts out of focus. Also, you won’t be able to use high ISO values as you are going to shoot in front of a dark background and you don’t want to get a lot of noise in the picture.
-Setting the light: The trick is to light only the smoke, in order to have a perfectly black background. So, you need to place your light at 90° angle of the camera, pointed directly towards the incense. To make sure the background isn’t affected by the light and will stay perfectly black, try to move the incense and the light source away from the background as much as possible. You can also use something like a book to block any light that might hit the background. Finally, it’s preferable to work in a dark environment, so that your light source will be the only source.
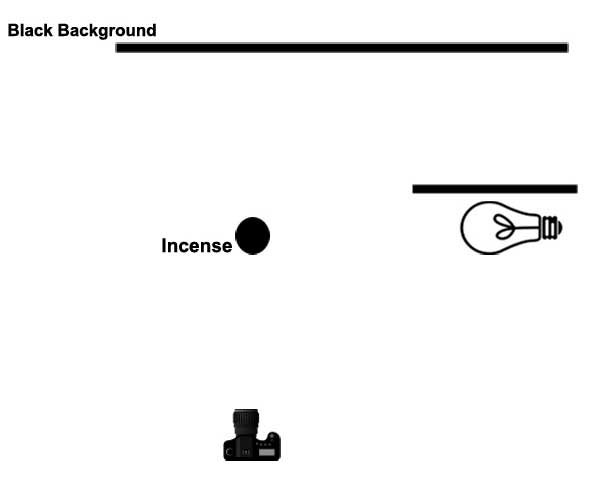
-Setting the camera: Set the camera on a tripod and compose your shot in a way to leave as much space as possible above the incense stick to capture the different shapes of smoke. You will need to use fast shutter speeds to capture sharp images of the smoke. You also need to use small apertures (F/8 and smaller) to guarantee a large depth of field. With the large depth of field, it will be a lot easier to capture all of the fleeting smoke in focus. When focusing for smoke photography, it’s better to use manual focus. Set your camera on manual focus and aim for the tip of the incense stick. While smoke will go in all directions, you will get satisfying results, since you used a small aperture.
With everything set, use a lighter to burn the incense and shoot as many shots as you can. The more the merrier!
-Editing: Editing plays an important role in smoke art photography. It will enable you to make your photo stand out and to get rid of any distracting thing. In an editing program, try to crop the photo to recompose and to get the best arrangement possible. After that, you need to make the background appear as black as possible. You can do that by simply adjusting the contrast or by using the curves and levels tools in some editing programs.
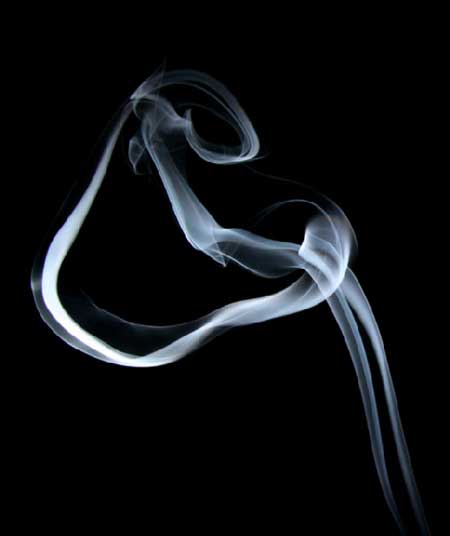
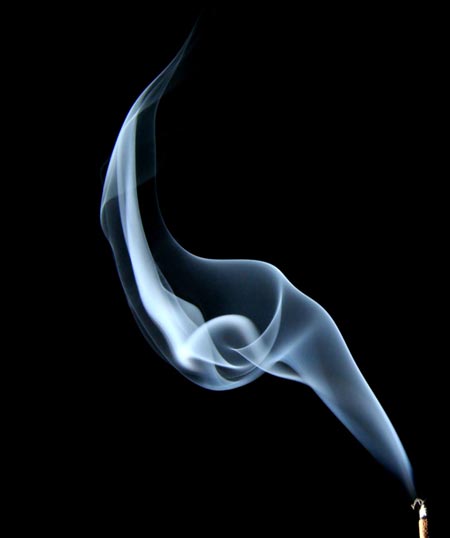
This should be enough to get you a satisfying result. Here is an example of a smoke photo with basic editing:
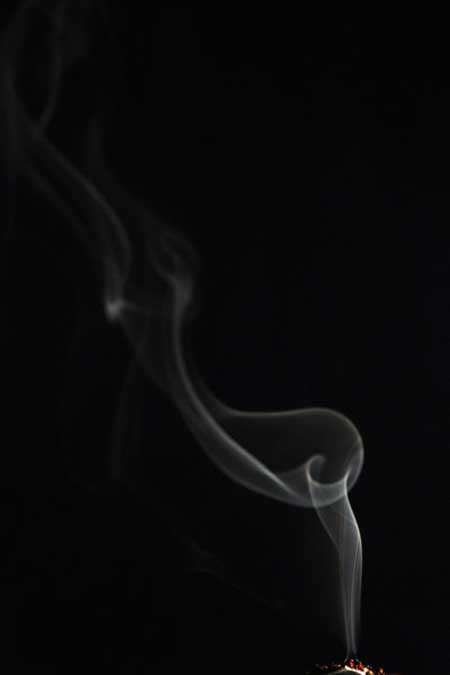
Photo by Yassine Hakimi
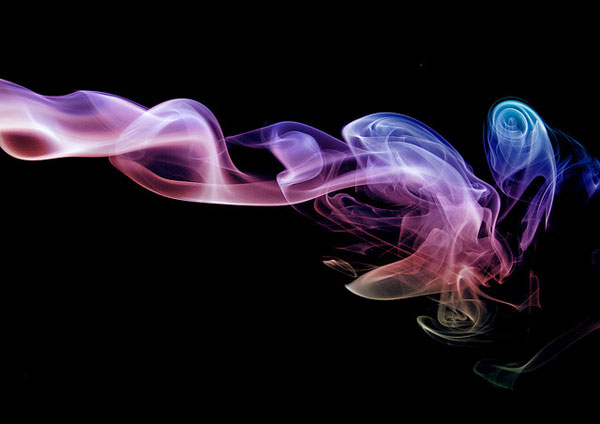
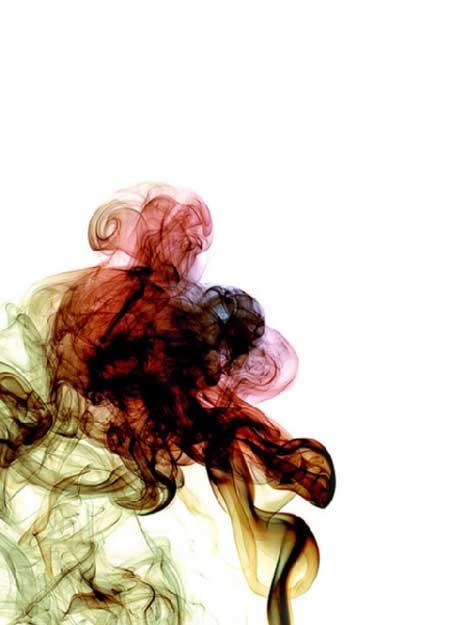
With a more advanced editing program, like Photoshop, you can produce much more interesting images through colorizing the smoke and turning the photo into an abstract form.
Case Study:
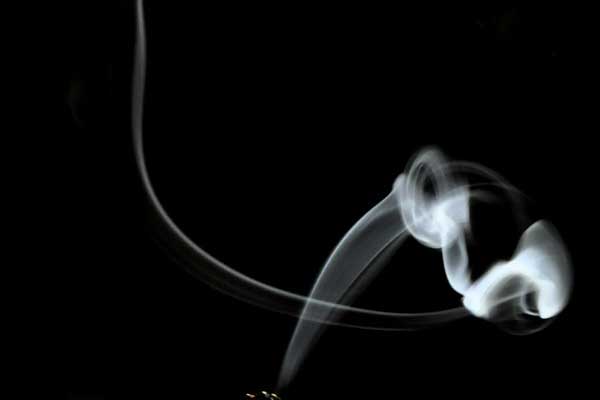
I used some black paper for the background, a desk lamp for lighting and my Nikon D5000 with the kit lens to capture the smoke coming from incense burning in a candlestick. After some shots I got this image:
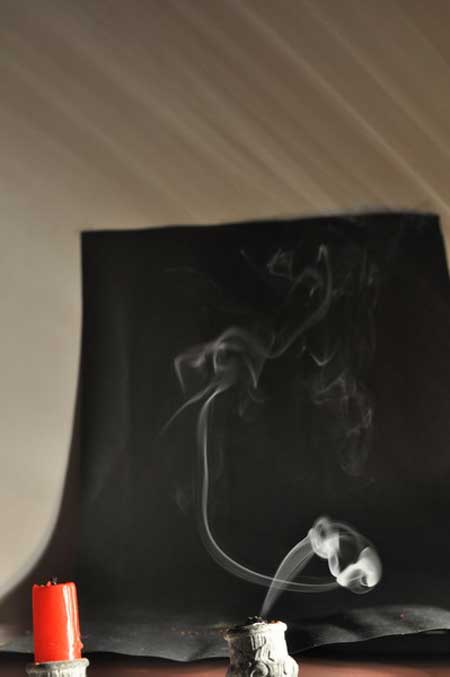
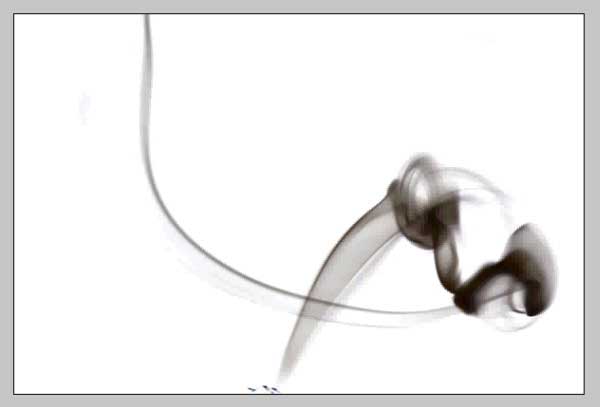
Then, I opened the image in Photoshop. I cropped it, and adjusted the levels to get this result:
The editing could have stopped here. But I wanted to get a different effect from this image. So, I worked on it for some more time.
First, I inverted the colors (Image> Adjustment> Invert)
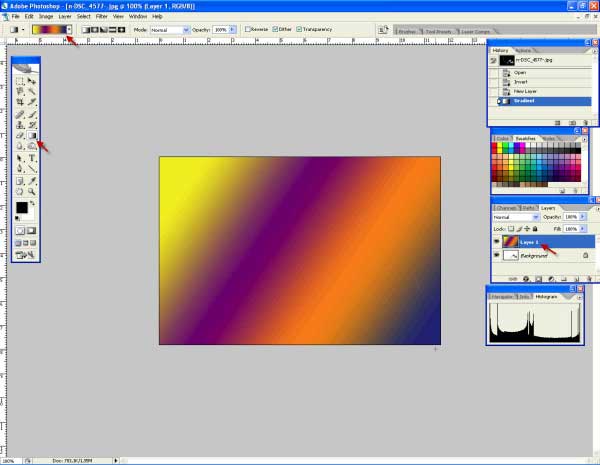
After That, I wanted to add some color to the smoke. So, I created a new layer, selected the gradient tool and filled the layer with different colors.
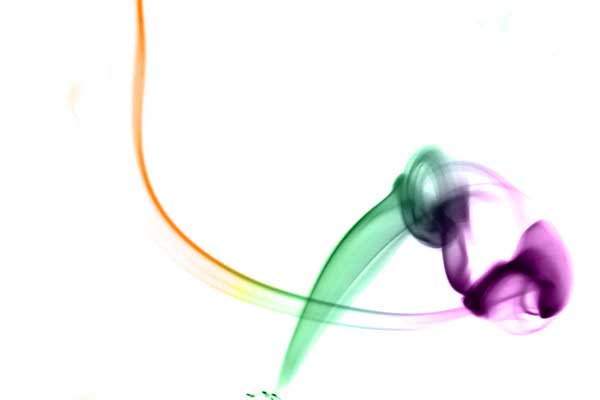
Finally, I set the blending mode of the top layer to color and dropped the opacity a little bit which produced the effect I was seeking.
Here are some inspiring examples of smoke photography.
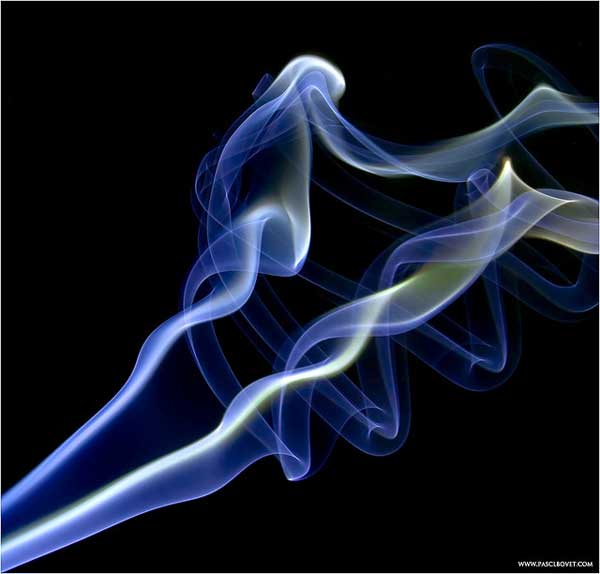
Smoke by pascalbovet
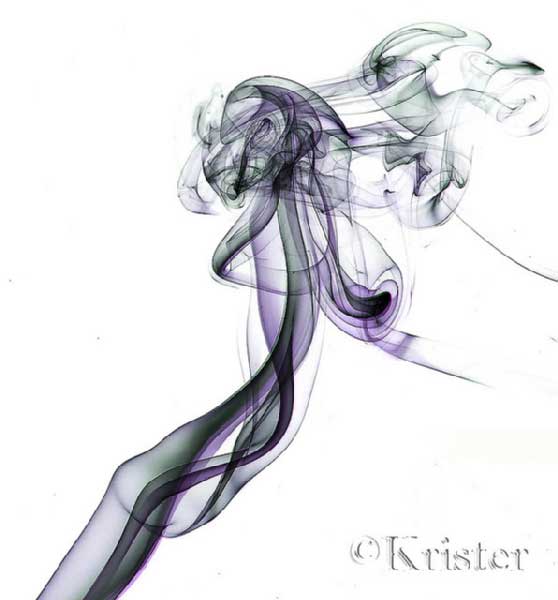
Smoke by Krister462
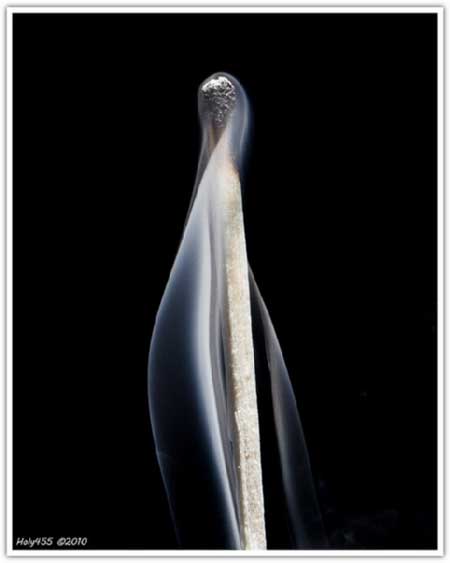
Dressed smoke by Holy455
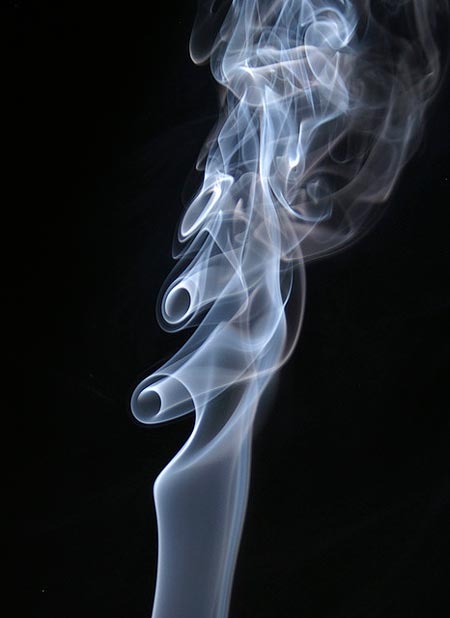
Smoke swirls by dalyswe
Smoke by AMagill
Smoke by Turbojoe
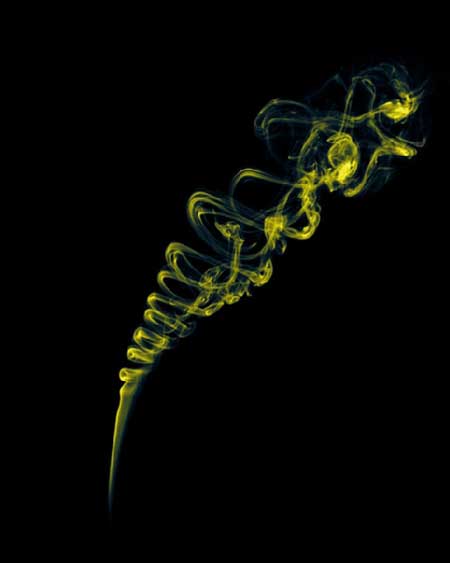
Yellow smoke by rlr77
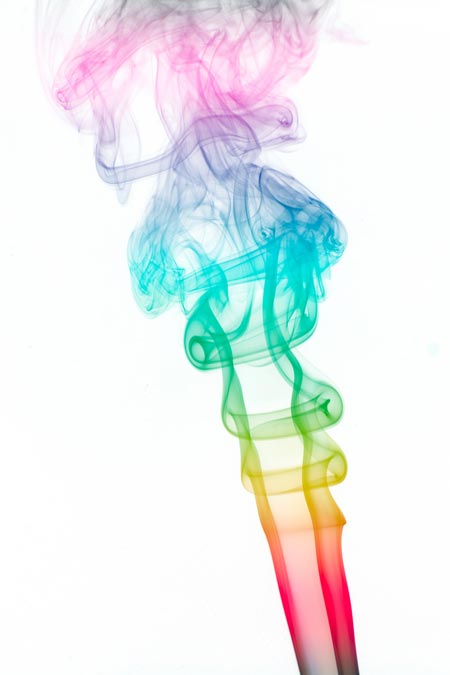
Smoke-Rainbow Gradient by Subharnab
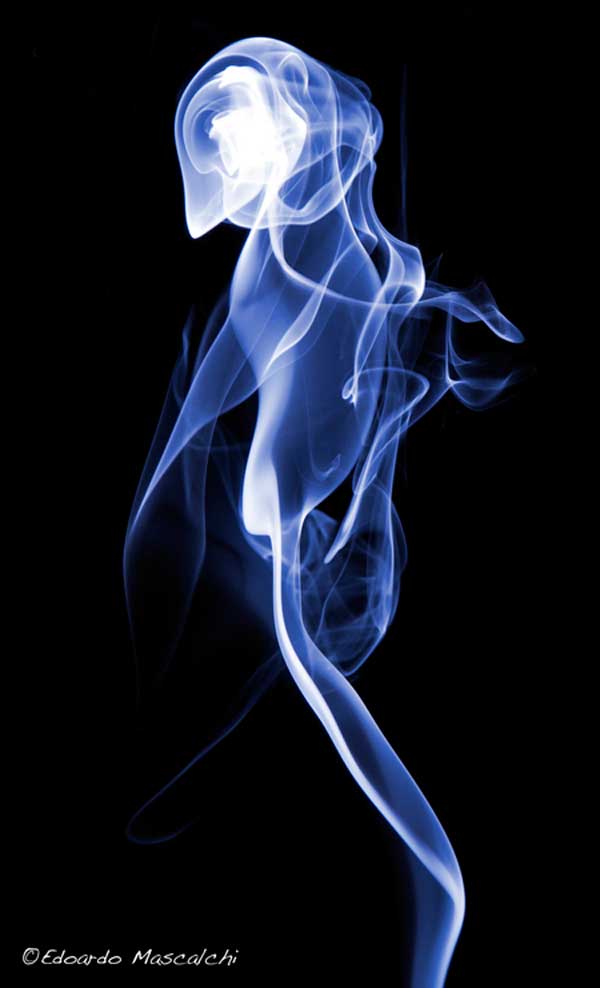
First attempt at smoke photography by EdoM Photography
Smoke 2 by AMagill
Smoke photography by shutterclicks
About Author
Yassine Hakimi
Yassine Hakimi is a self taught Tunisian amateur photographer. He caught the photography virus back in 2006 and has been shooting and learning non-stop ever since.Feel free to visit his profile

Oh wow! Every smoke design was so incredible! I wanna try making one too. Thanks a lot for sharing this!
awesome!
Great article, Thanks!
This is awesome! How about an animation like this? Lets say that i take a short video of the smoke and want to add color to it – would it be easy to do this in After Effects or something similar?