The Basics of Lightroom 3
Lightroom was first introduced in January 2006, it was developed for professional photographers and photography aficionados. Lightroom was mainly used for organizing and editing photos, especially RAW files, in a quick and simpler way. The latest version of Lightroom as of today is the Lightroom 3. This article will give you some basic information on Lightroom 3 to help you edit and organize your images easily.
Library
Like the previous versions of Lightroom, Lightroom 3 has a Library section. The Library section is where users can organize, import and export their photos. Lightroom also lets users create collections from their images. This tool enables users to group photos in a catalog. If you’re into food photography and you want all your best food photos in one place, you can group them together and create your best food photos collection. All you have to do is to set a rule for your Smart Collection that when you rate a food photo as 5 stars it will automatically include that photo in your best food photos collection.
There are many other ways to label your photos aside from using stars, you can use color tags, location, camera, flags etc. The Quick Collections in Lightroom 3 enables users to temporarily group different photos, however, only one Quick Collection can be created per catalog. What’s best in Lightroom 3, or even the previous versions of Lightroom is that it doesn’t physically move your photos to another location when you create collections.
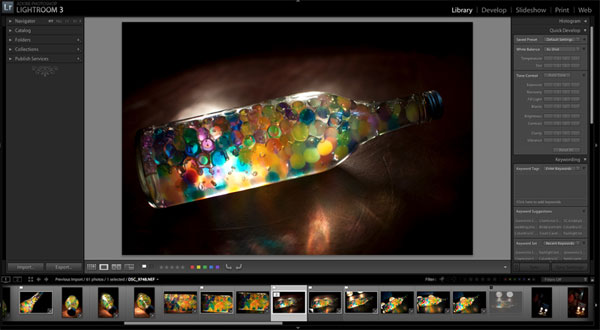
The Library
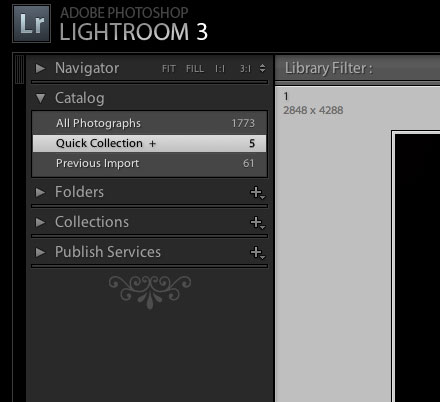
The Quick Collection Tab
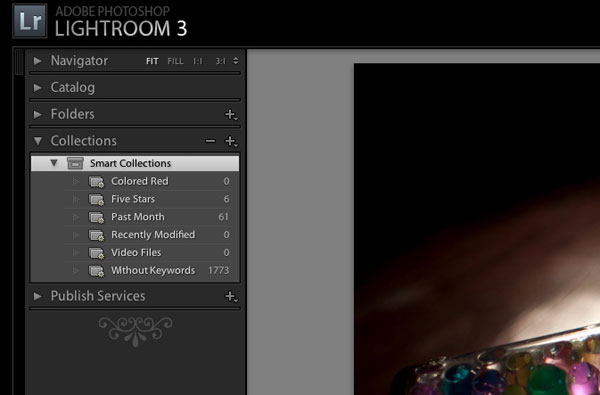
Smart Collection Tab
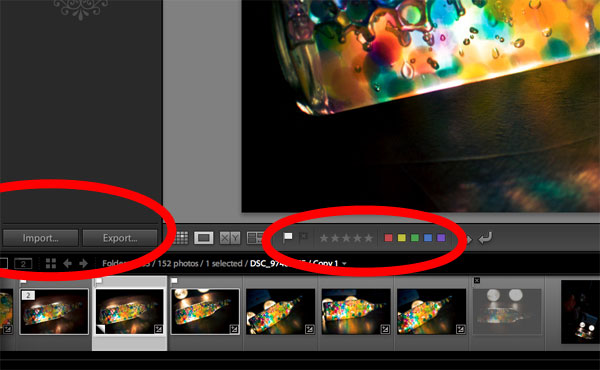
Import and Export Button and the Tags/Labels
There are several ways to view your photos in the Library section; you can view photos in grid mode or in small thumbnails if you hit the G button, and if you want to view your photos one by one in a much larger view you can select the loupe button, or hit the E or spacebar. If you want to compare two photos side by side you can hit the C key on your keyboard. Aside from labeling or tagging photos, users can also edit metadata and publish photos to their Flickr, or even Facebook accounts.

Grid View (G)

Loupe View (Spacebar or E)
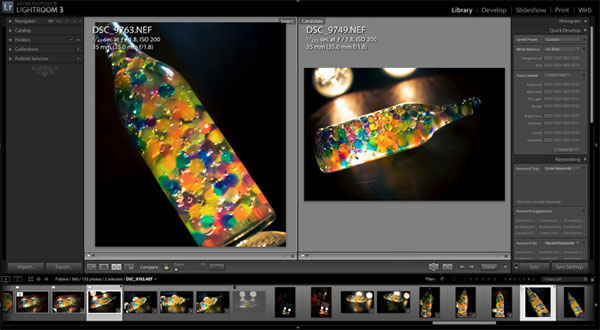
Compare View (C)
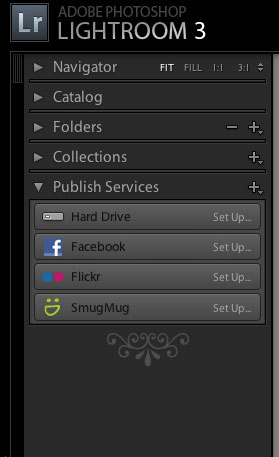
Publish to Flickr, Facebook or SmugMug
Develop
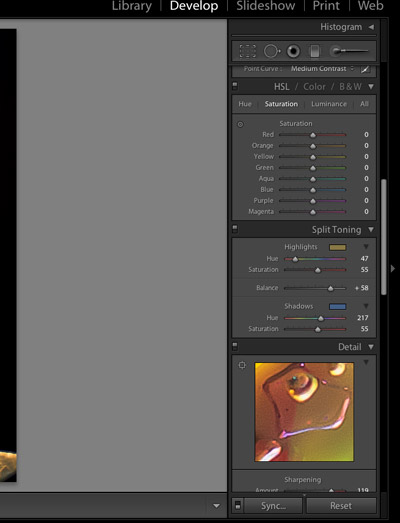
The Develop section is where you edit your photos in Lightroom 3. In the Develop section there are several sets of sliders that will allow you to adjust exposure settings of your photos, white balance, brightness and contrast, etc. This makes the job easier both for photographers and hobbyists. You just have to scroll down on each set of sliders and make some adjustments to make your photo more appealing to the eye.
You can also fix blemishes on your portraits in Lightroom 3 by using the Clone or Heal tool. The Clone tool is similar to the clone stamp tool in Photoshop, and so is the Heal tool. The shortcut key for the Clone or Heal tool is Q. Lightroom also enables users to use brushes to edit photos. You can dodge or burn photos by using the brush tool; to use the brush tool hit the K key or click on the brush button at the upper right side of the workspace.
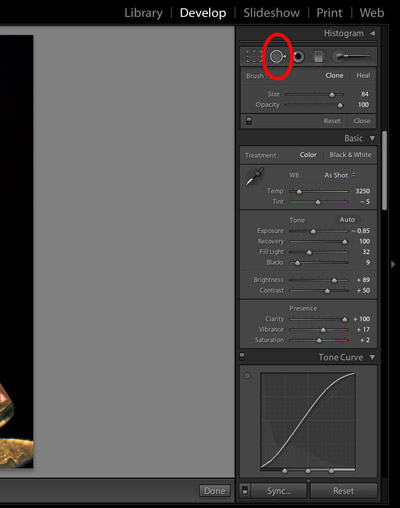
Heal/Clone Icon
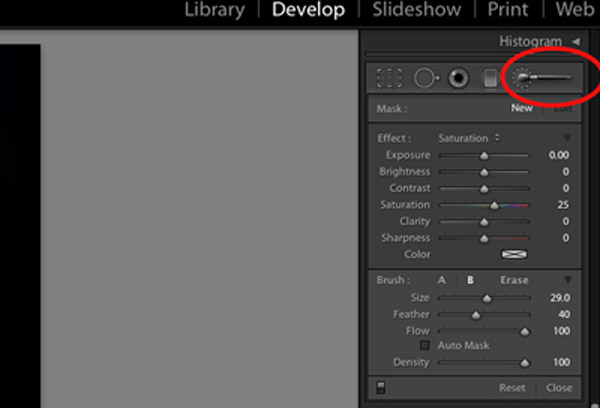
Brush Icon
If you love color grading, Lightroom 3 is a software that will help you color your images quickly and easily, just play with this set of sliders until you get the right color that you want.
There are also lots of free downloadable Presets online that you can use in editing your images in Lightroom.
Another thing I like about Lightroom 3 is that it does not alter the original photos in any way. When you edit the photos in Lightroom’s Develop section and export them in the Library section, the edited photos can be saved to a different location. This is a great feature because it doesn’t replace the original photos, meaning that you can re-edit them in a different way whenever you want to.
Slideshow
The Slideshow section lets users create a photo slideshow of the images in their collections. It’s quick and very easy to customize, Lightroom 3 has added the option to add music to the slideshow. It is also possible to export the slideshows from Lightroom, you just have to click the Export video button and it will create an mp4 file. This is very useful, especially if you need to create a quick slideshow of photos to show your clients.

Left: Preset Templates
Right: Custom layout
Creating and printing layouts can be done in the Print section of Lightroom 3. Users can choose from different templates at the left side of Lightroom, or they can create layouts from scratch by using the options that are at the right side of the screen:
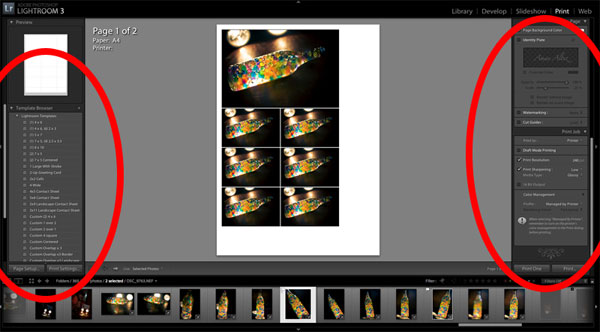
You can either print the layout you’ve made, or save in as a JPEG file.
Web
The Web section in Lightroom 3 allows users to create an HTML or Flash Based gallery which you can upload to your blogs or websites. Just like in the Print section, there are several templates to choose from, you can also customize your gallery depending on how you want it to appear in your online site. You can preview the changes you have made by clicking the “Preview in Browser” button.
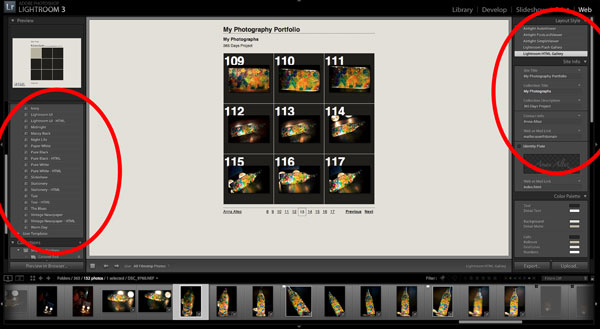
Left: Preset Templates
Right: Custom layout
Lightroom 3 is a software that is very easy to use, you just have to familiarize yourself with its different sections, sliders and settings.
About Author
Anna Altez
Anna works as a Part-time Studio Photographer in the Philippines. She also works as a Freelance Photo/Video Editor and Events Photographer. She loves music and enjoys watching films, and going on adventures. Visit her photo blog here.


