The Creative Way of Using Brushes in Photoshop
You can do a lot of things in Photoshop, with the different tools and effects, almost anything is possible. There are so many tools, effects and filters, yet sometimes we underestimate and ignore what such tools can offer. The brush tool, for example, has remarkable features that will definitely make your photos more interesting.
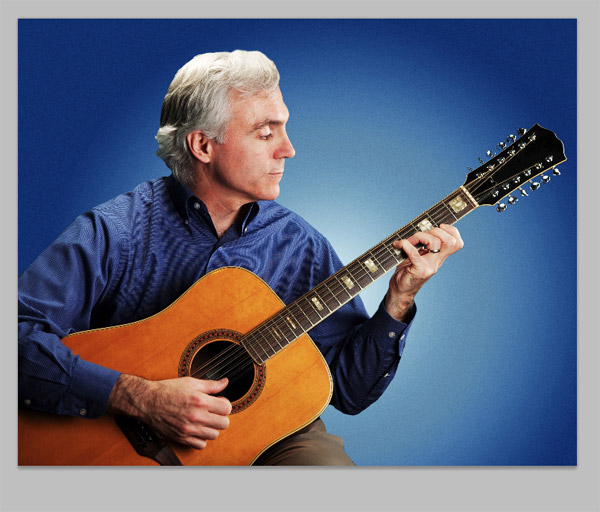
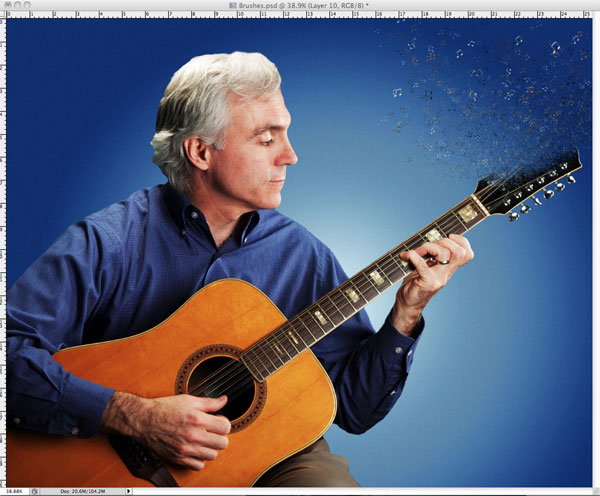
I will use this photo for this tutorial:
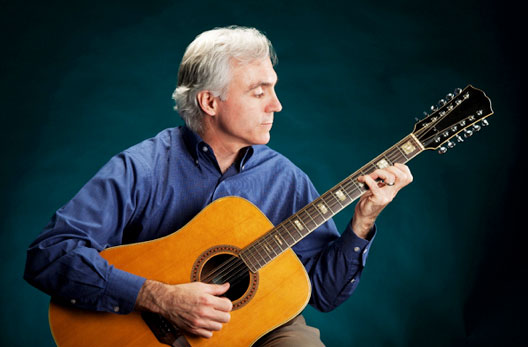
Photo by: Gene Lee
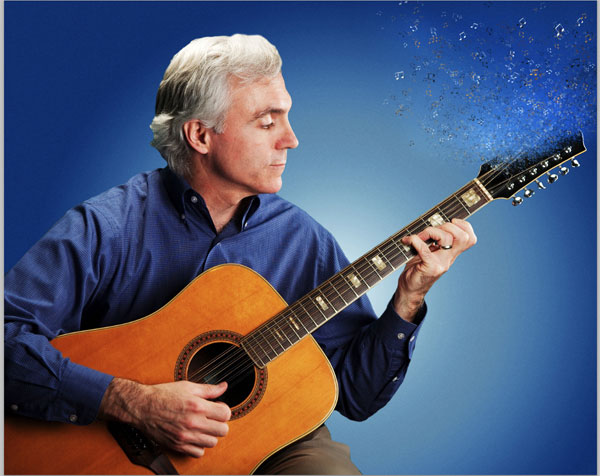
Here’s how the photo will look after editing and using the brush tool:
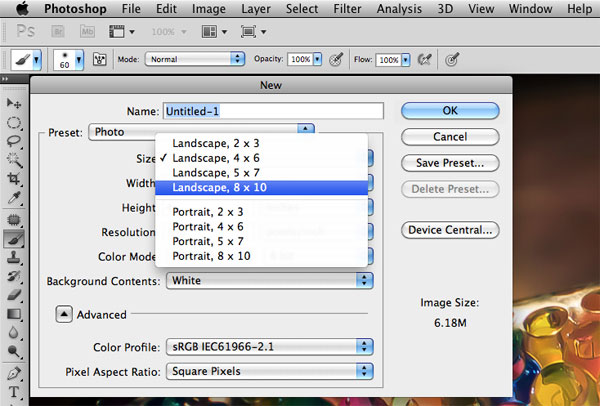
I’m using a CS5 Version for this tutorial. First, open a new document in Photoshop. I used the Photo preset, selected Landscape and 8×10 for the size of the canvas.
Fill it with this color: #0a3556
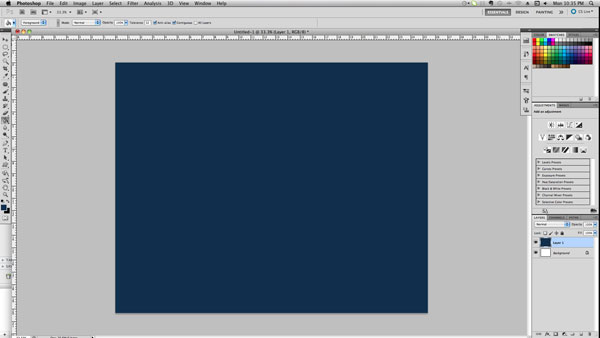
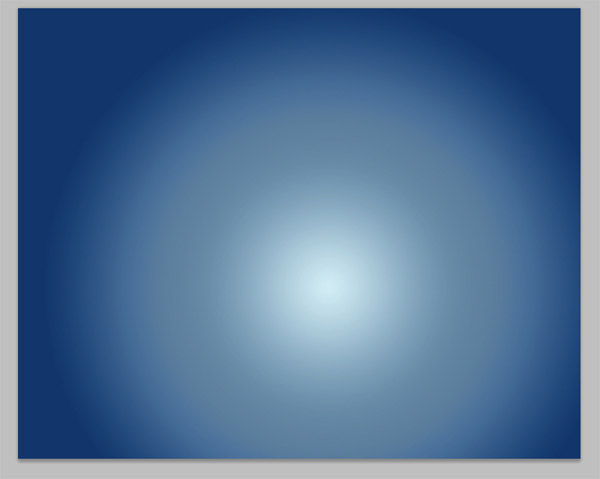
Create a new layer, select the Gradient tool (G) and create a gradient layer using these colors: #e5f4f9 and #06274b
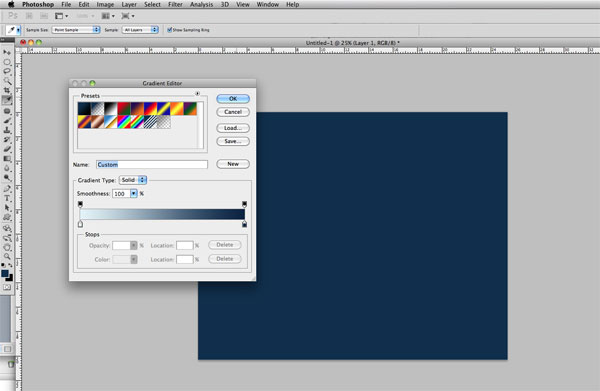
Here’s my result:

To make the colors more vivid we will use 2 different adjustment layers. First click Layer>New Adjustment Layer > Gradient Map. You can also click the Adjustment Layer icon at the lower right part of your workspace.
We will use these colors for the Gradient Map: #e5f4f9 and #021a38. Set the Blending mode to Overlay and the Opacity to 70%. This will be the result after creating the Gradient Map.
We will use Curves for our second Adjustment layer. To do this click Layer>New Adjustment Layer> Curves, or click the Adjustment Layer Icon. Set the Input to 165 and Output to 178 or adjust the Curves like this.
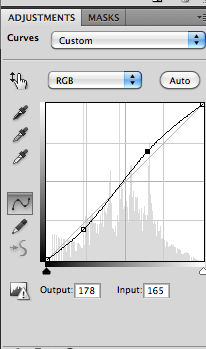
This will give more contrast to our background. Hit COMMAND + ALT + SHIFT + E to merge a copy of all visible layers into a target layer.
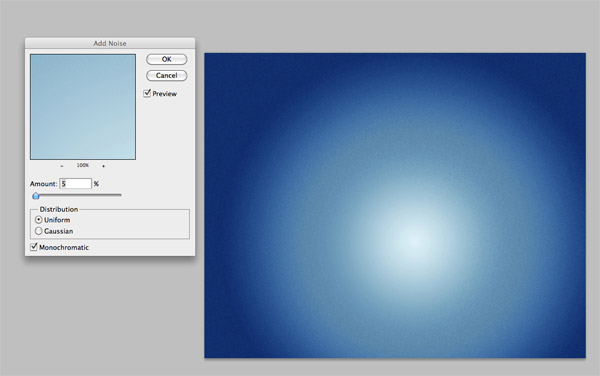
We will now add a bit of Noise to our layer by hitting the M button, or clicking the Elliptical Marquee tool and creating a circle at the bottom center of the canvas.
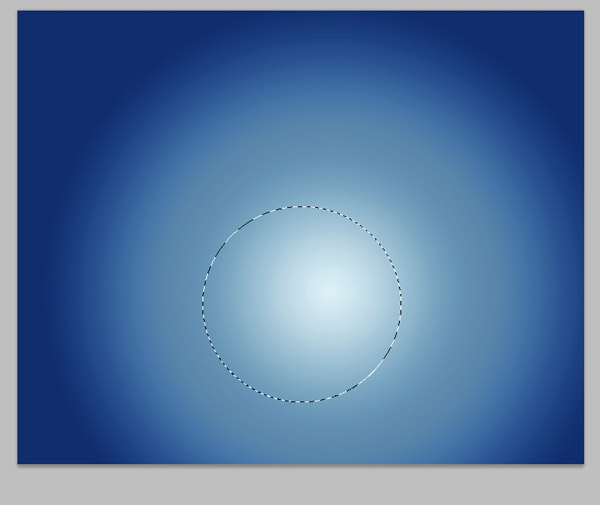
Click Select>Inverse and then Click Filter>Noise>Add Noise and set it to 5%
Now that we’re done with the background, let’s open the image that you wish to edit and extract it from its background. I used the magic wand tool to select the background, inverted the selection and hit the COMMAND + J button to duplicate the selected area of the image, then copied it to the window where the background was.
Now we will add a layer mask by clicking the Layer Mask icon while holding down the ALT button. The Layer Mask Icon is located between the Layer Style icon and the Adjustment layer icon. Then Invert the mask by hitting the COMMAND + I keys. Now click the Brush tool icon (B) and select the Soft Round brush. Make sure you select Black as your brush color, and then start brushing the areas you want to disappear.
We will now make a custom brush for this photo. To do this, open a New Photoshop document with a 500×500 pixels canvas. Click the Custom shape tool, select the musical note and create the custom shape. Then rasterize it and click Edit>Define Brush Preset and then save it.

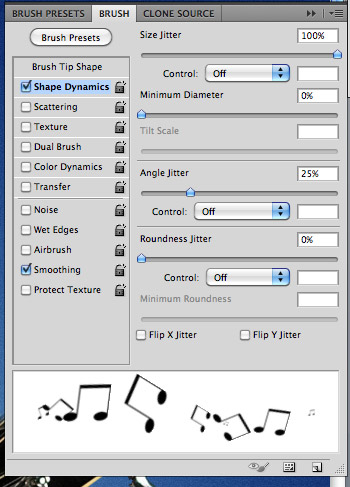
Now go back to the photo we’re editing and select the brush you have created. We will now edit the brush options. In order to do this open the brush window by clicking Window>Brushes.
Set your brush spacing to 135%.
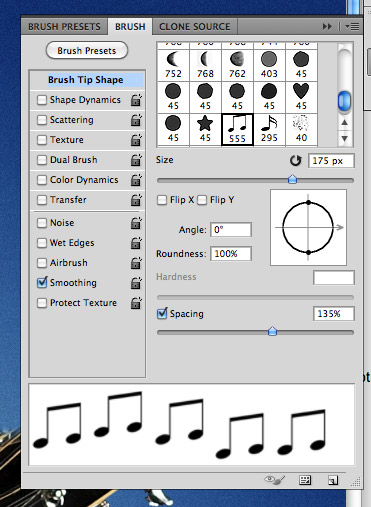
Tick Shape Dynamics and set the Size Jitter to 100%. Control should be Off, and the Angle Jitter should be 25%.
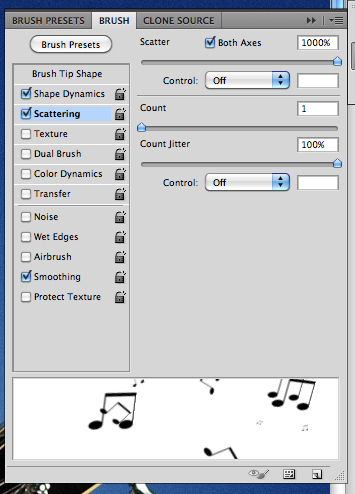
Tick Scattering and set the Scatter to 1000% and Count Jitter to 100%.
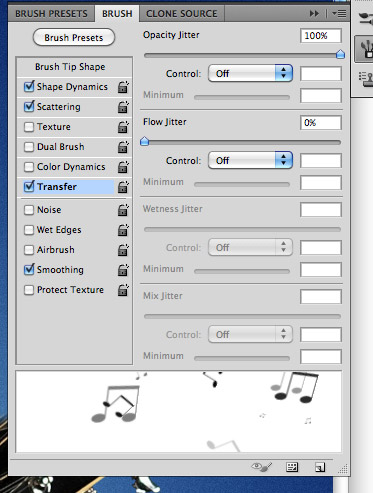
Select Transfer (Other Dynamics for older versions of Photoshop) and change the Opacity to 100%.
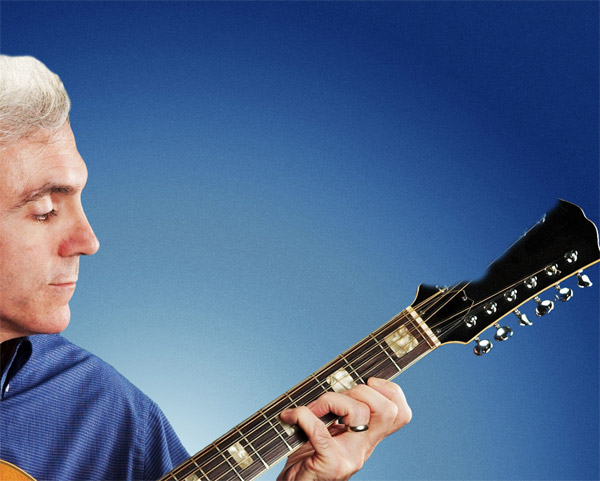
Select the layer mask again and brush on the edges of the guitar where you previously brushed using the Soft Round Brush to modify that area.
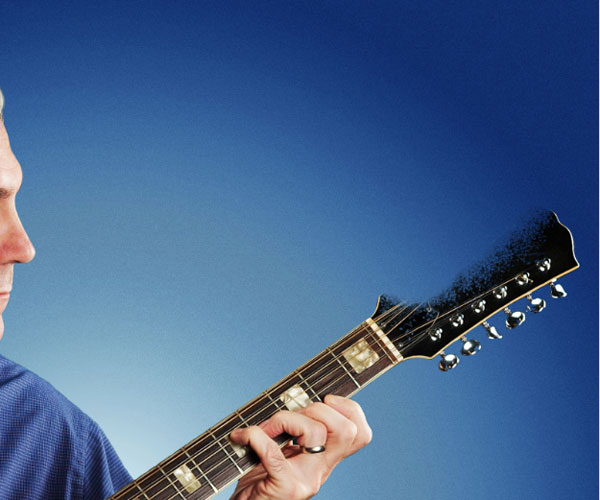
Create a New layer and select the Color Picker. Now click on the Head of the guitar and start brushing near the Head part of the guitar. Start with a small sized brush like 10px and then make the brush size bigger as you brush away from the guitar. Do this several times using the colors of the different parts of the guitar.
The last thing you have to do before saving the file is to Create a New Group and change its Blending Mode to Color Dogde. Now create some layers and use a white soft brush to brush on areas you want to Highlight, adjust the opacity of the brush and the layers as desired.
Now here’s the final output.

About Author
Anna Altez
Anna works as a Part-time Studio Photographer in the Philippines. She also works as a Freelance Photo/Video Editor and Events Photographer. She loves music and enjoys watching films, and going on adventures. Visit her photo blog here.