Tips for Taking Great Aerial Photos
Aerial photography is a very difficult form of photography. People have always been fascinated by the images taken from the sky, as they offer us a different and sometimes impressive perspective of the things we have on earth. Aerial photography refers to the technique of capturing photographs of the land from an elevated location. Usually, in this type of photography the camera is not supported by a ground-based structure and it can be either hand-held or mounted on an aerial platform. In aerial photography the photos may be taken by a photographer or they may be triggered either remotely or automatically. Some of the platforms used in this type of photography include airplanes, helicopters, balloons, dirigibles and blimps, rockets, kites, poles and even parachutes.
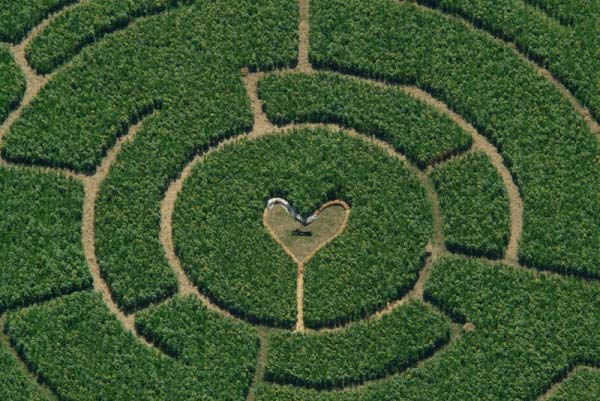
Photo by AerialView101
Since the invention of photography in the nineteenth century, photographers have been capturing aerial images of the earth, as they were very interesting for the people who didn’t have the chance to see them from the air. The French photographer and balloonist Gaspard-Félix Tournachon was the first to practice aerial photography and he made the first photographs over Paris in 1858. Since then, aerial photography has developed along with the technology involved and now, it is used for many applications, such as cartography, archaeology, land-use planning, movie production, environmental studies, surveillance, commercial advertising, conveyancing, and artistic projects.
Thanks to the advent of digital cameras many people started to take aerial photographs during their flights in commercial or private aircrafts, but although some of those images are quite impressive, a good level of quality is difficult to obtain because of many reasons. The main reason is that people who fly, usually take these photographs through the windshield or the window of an airplane and this distorts the image and adds unwanted reflections. But there are some other aspects that need to be taken into consideration when shooting aerial photography.
How to take good aerial photographs:
Although many people do aerial photography while they travel by plane, to have the best results you should find a small aircraft that is suitable for your purpose of taking aerial photos. These could be airplanes, helicopters or even balloons. The reason is that small airplanes and helicopters are usually slower and you can take your time photographing the chosen area, and most important, they usually have windows that can be opened. You should avoid taking photographs through the window because, although they can be clean, they are not flat and will distort your image. If you can rent an aircraft for aerial photography, your best choice would be a helicopter, because unlike an airplane, it can fly lower to the ground and if necessary it can fly slowly or even hover.
Composition and Framing.
You should keep in mind as a guideline that vertical objects should be aligned with the vertical frame of your camera, in order for them to appear vertical in the final image. Try to shoot the same subjects from different angles as the shadows may be more interesting from another point of view, but try not to shoot with the sun directly behind you as it will make the pictures look flat. Also, don’t shoot straight down unless you’re doing photography with the purpose of mapping and surveying, otherwise the photos will be pretty boring. This type of images is usually taken from satellites and can easily be found on the Internet. The perspective and the angles are what will make your aerial photographs interesting.
Try to fly either early in the morning or late in the afternoon, as the sun’s angle at these hours will provide a better definition to the objects bellow and the light will be great for aerial photography.
Be prepared for camera shake.
While in an aircraft your camera is subject to vibration and movement and this can lead to blurry pictures. Although most lenses have vibration reduction (VR), they are designed to face vibration caused by hand holding the camera, and most likely, it won’t give very good results against the airplane’s large and constant shake. There are two solutions that will enable you to take photographs without the blur caused by vibration. One of them is to use a gyro stabilizer. It can be attached to a camera in order to keep it steady while shooting. The gyro stabilizer is a good asset as it will enable you to take pictures at slow shutter speeds. However, the easiest way to take aerial photos without motion blur is to use fast shutter speeds. If you zoom in to a closer perspective to your subject, you’re not only magnifying the subject but you’re also magnifying the motion. A good way to overcome this problem is to use a shutter speed of about 10 times the focal length to make sure you get sharp results. For example, for a focal length of 50mm you should use a shutter speed of 1/500. If the fast shutter speed isn’t enough to get properly exposed photos, you can try to raise the ISO and open the aperture a little more, if possible. To ensure you’ll have enough light entering the camera you can use a wide aperture as shooting from a high altitude (a far distance) to an almost flat land, won’t give you depth of field problems. Choose an ISO value that is high enough but that won’t cause grain.
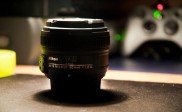
Get sharp pictures.
As images of the earth from a high altitude will include small objects it will be a good idea to get the photographs as sharp as possible. Most lenses will be sharper at 2 stops down from their largest aperture, so it will be a good idea to get lenses with a wide aperture. For example an f/3.5 – 5.6 zoom may not be at its sharpest point till f/8 or f/11, and this means that in order to get sharper images with those lenses, at that aperture you will have to use slower shutter speeds and higher ISO values. That’s why for this type of photography a professional zoom is more recommended. There are professional zooms that have a wide aperture of f/2.8 and that are very sharp at about f/4, so this means more light will enter the camera and the lens can be used at faster shutter speeds.
Use appropriate focal lengths.
Lenses with wide focal lengths such as 18-24mm might provide you with photos including the plane’s wing struts or landing gear. Because of that medium zooms like 24-70mm, or lenses with longer focal lengths, like 80-200mm, will be a better choice.
Look around.
Having a higher perspective can provide you with interesting things to shoot, but try to take photographs from different angles. The more photographs you take, the more choices you’ll have when you return on the ground.
Aerial photography is a very interesting thing and it’s fun too, but make sure you have the appropriate gear and use the right settings on your camera, because you may not get a second chance to fly above the same ground.
Below are some great inspiring examples of aerial photography:
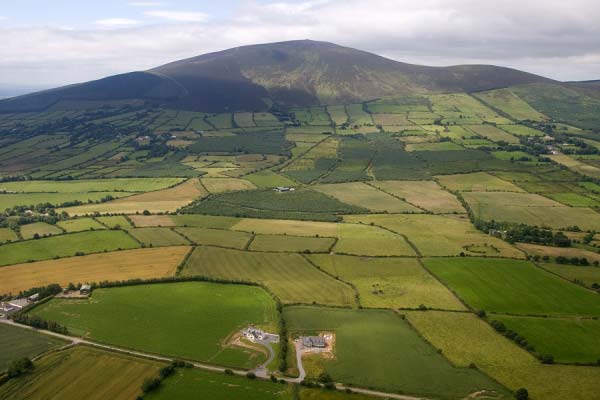
Photo by Cyril-Helnwein
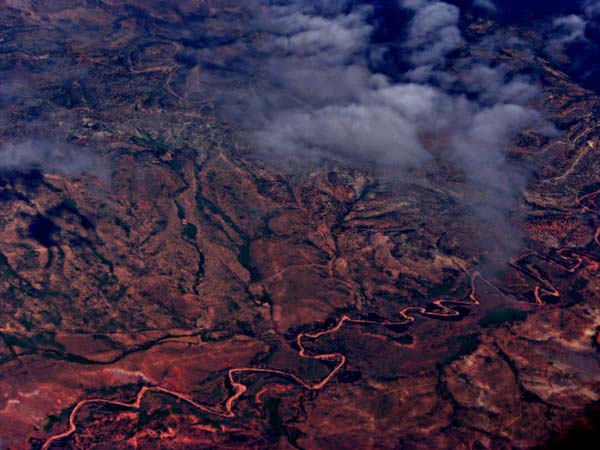
Photo by CorazondeDios
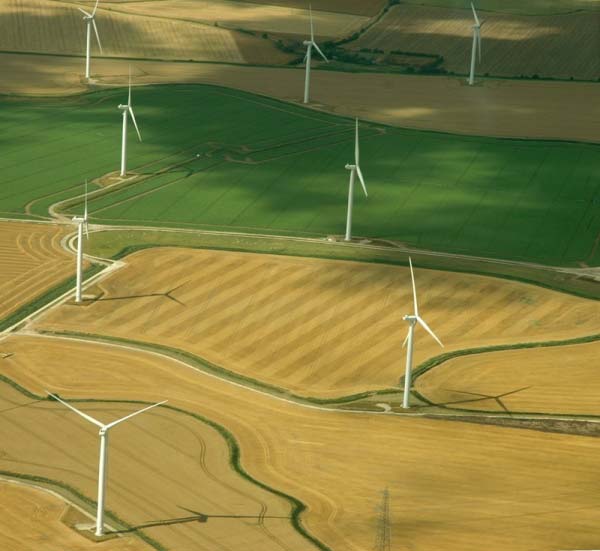
Photo by Piskieface

Photo by celetous143
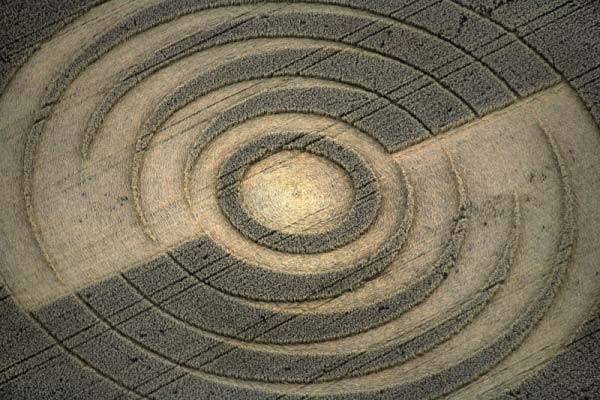
Photo by AerialView101
Photo by fba70
Photo by july-seventeen
About Author
Valentin Gavan
Valentin Gavan is a self-taught photographer who is passionate about photography. He also does concert photography for an online metal magazine. You can see some of his works via his profile
Nice tips. In some ways aerial photography seems easy, but to do it well can be very challenging.
The only things you really have control over are framing and shutter speed. Keeping the speed up around 1000th sec works for me, either by wide aperture or high ISO, or a combination of both. Shooting from a helicopter will give much better results than a fixed wing aircraft, and also give you more control over framing and getting the right angle and altitude. You can also use wider focal lengths.
Of course you can control the light a little bit by flying at different times of day, but you’ll need to make sure you use the right types of lenses for lower light shoots, as you still need to keep that shutter speed up there.
One of the most important aspects is communication with the pilot. They’re the ones who will get you into your desired position, so you really need to know how to tell them where to go. So to speak… Tell them what you’re after before you take off.
Anyway, that’s enough from me.
You can check out some of my recent shots at http://www.markmerton.com.au if you like.
Very nice photographs Mark!
Thanks for the comment,
Valentin
i use a drone for my photo just as a hobby i love this, but it’s a great pity some people are using them in a dangerously and being stupid with them, this spoil’s it for people like myself who want to use it as a hobby and a safe way.