Tips on Capturing Stunning Seascape Pictures
The beach or coast always draws the photographer’s interest since they always provide fascinating scenery. Seascapes are just as popular as landscapes and by having the sea, ocean, or the shoreline as the subject, you are bound to capture eye-catching shots.
Here are several points to consider when taking seascape photos:
Time of day – the same beach can look vastly different at various times in the day. Shoot during ‘golden hours’, which are early mornings and late afternoons when the sun is low in the sky. During this time, the sky can show a gorgeous array of colors and the waters can create spectacular reflections.
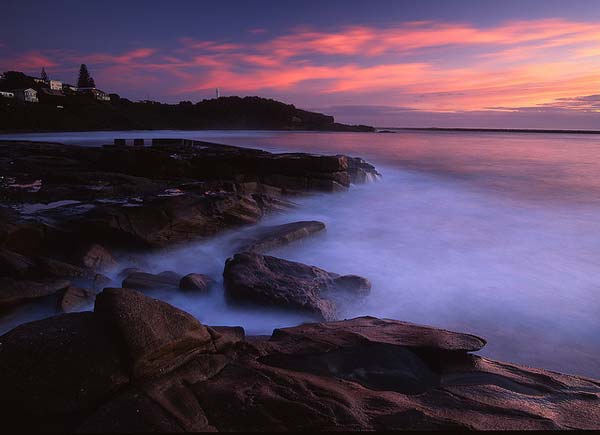
Photo by Mark Wassell
Aperture – remember that your choice of aperture setting will affect depth of field. Use a small aperture (big lens hole), such as f8-f16, if you want most of the scene clear and defined. Take note that a small aperture would need more light to enter the lens, and you may have to adjust your shutter speed and ISO to compensate for it.
Shutter speed – play around with the shutter speed to capture all kinds of water motion. A fast shutter speed such as 1/125 sec will freeze the movement of water and make waves and sprays appear glassy. On the other hand, a very slow shutter speed such as 1 second can give the waters a misty or satiny appearance.
Filters – these three filters are often used in seascape photography:
- Neutral Density (ND) – lessens the amount of light hitting the lens and allows you to prolong exposure time.
- Graduated Natural Density (GND) –lessens the light hitting the lens at a gradual pattern.
- Polarizing filter –cut downs on the glare, makes colors more vibrant, and decreases intensity of light in the scene.
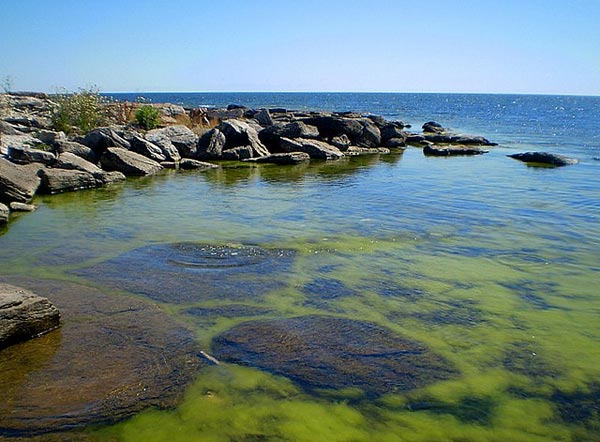
Photo by Per Ola Wiberg
Foreground interest – if the foreground looks rather empty and dull, add foreground interest to make it more attractive. Look around for objects and little scenes that can capture one’s attention. Make use of rocks, debris, the sandy shoreline, and the like to create fascinating but natural foreground interest.
Gear protection – the coastline and beaches can get very windy, blowing sand and dust particles in the air and potentially into your camera. Protect your accessories with a sturdy camera case, cover your lens or put back the camera in the bag when not in use, and keep an eye on all your equipment to keep them safe from the elements and the tide.
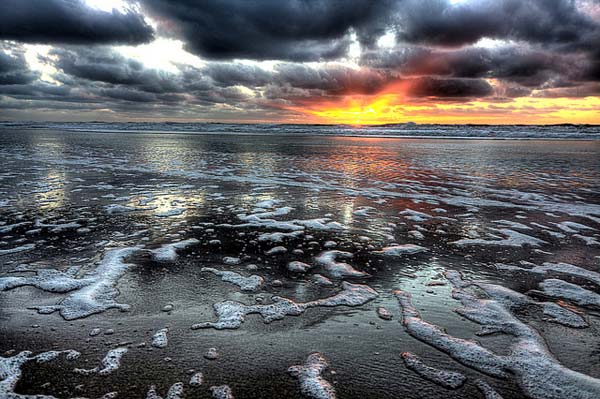
Photo by lrargerich
Location – before getting to the location, first find out more about it so you can go prepared. Research online, ask the locals, look at photos or go to the actual site. Choose a good and secure vantage spot to set up your tripod and other camera accessories. Check on the weather forecast.
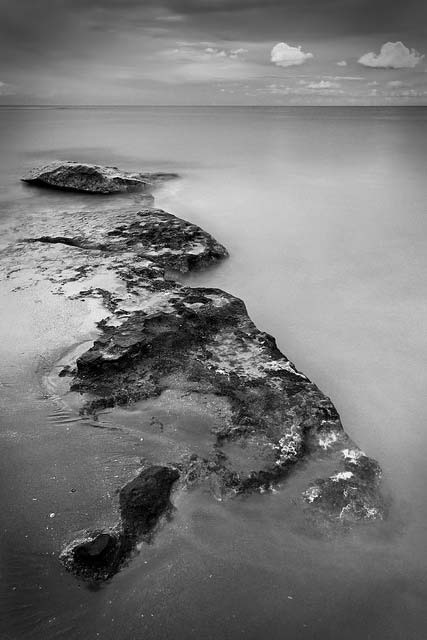
Photo by Luke Peterson Photography
Crop – seascape shots are usually in a horizontal orientation to capture as much of the ocean in the frame. You can also experiment with the vertical crop, which would show more of the sky and shore.
Horizon – crooked horizon lines are generally frowned upon so keep your horizon straight as much as possible. If it still looks crooked after you take the shot, you can edit it in post-processing. Also, the horizon is usually placed at a third of the frame to make it look balanced. A centered horizon makes it seem that the photograph was cut in two. Take note that horizons composed at 2/3 of the frame will show more land and sea, while a one-third horizon position will show more sky.
About Author
Kristine Hojilla
Kristine is an avid amateur photographer from the tropical Philippine islands. She always tries to capture the extraordinary in mundane objects and scenes. Feel free to visit her profile here to see more of her works


