Tips on Photographing Museums
Museums are one of the best and most interesting places to visit. More often than not it’s also one of the best places to take that camera out and start taking shots of the things that can be seen inside and outside of the museum. You will never run out of ideas and subjects because you are being surrounded by lots and lots of art pieces, paintings, replicas etc. This article will discuss different tips on Photographing museums.
One important tip to remember in Photographing museums is to make sure that you are well informed about the policies of the museum and its restrictions on shooting inside or outside their building. It doesn’t matter whether you are using a point-and-shoot, film SLR, digital SLR or whatever kind of camera, the first thing you should do is contact them and ask them about their policies.
Unfortunately, there are some museums that don’t allow visitors to take photos inside the establishment. They will probably ask you to leave your cameras at the counter before entering the museum. If that is the case, then you can say goodbye to photographing inside the museum. You can try your luck in shooting outside the museum though. But there are some museums that allow visitors to take photos of certain exhibits and art pieces. You are fortunate if they allow you to use your pop-up flash or Speedlight inside the museum.
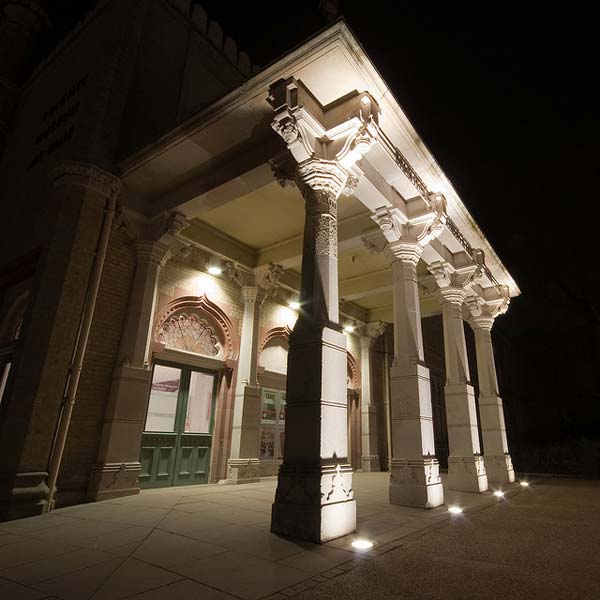
Photo by: petercastleton
Most art pieces in museums are lit artistically, so you probably won’t have problems shooting without flash. But there are some instances when the sculpture or the painting you want to photograph is placed in a room that has dim lighting. That’s why another tip in photographing museums is to leave your telephoto lens in your camera bag and use faster lenses instead. Most probably museums won’t allow you to use a tripod either, so if you do not have a fast lens, you better think of an alternative way to avoid camera shake. You can do this by either using the Image stabilizer setting of your camera, or leaning on walls to help keep your hands still. What most people do is to put their camera on the floor, tables, or stairs while clicking the shutter button. Of course you can always choose to set your ISO in to a higher setting, around ISO 800 is okay. Using an ISO higher that 800 may cause your photos to have disturbing noise. Noise can of course be lessened or even removed during the Post Processing by using Photoshop or Lightroom.

Photo by: Alex T.
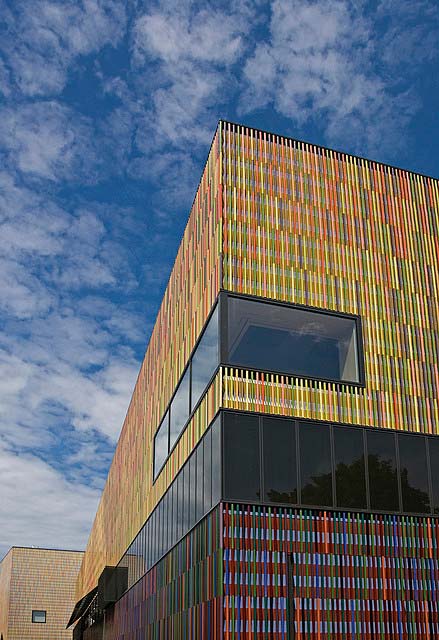
Photo by: digital cat
Aside from the exhibits inside the museum you can also try shooting the building itself. These buildings usually have impressive architecture, that’s why you must never forget to shoot the walls, pillars, doors, staircases, the frames and everything you see that you find interesting. When you’re done shooting the building, you can proceed in taking photos of artworks you find interesting. Take a closer look at each piece and notice its every detail. You can also use the artworks, especially the huge paintings as backdrop or as background to the viewers. Show the relationship between the artwork and its viewers.
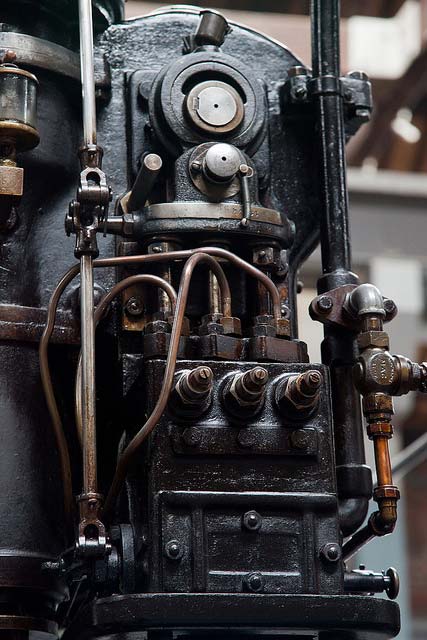
Photo by: Keith Williamson
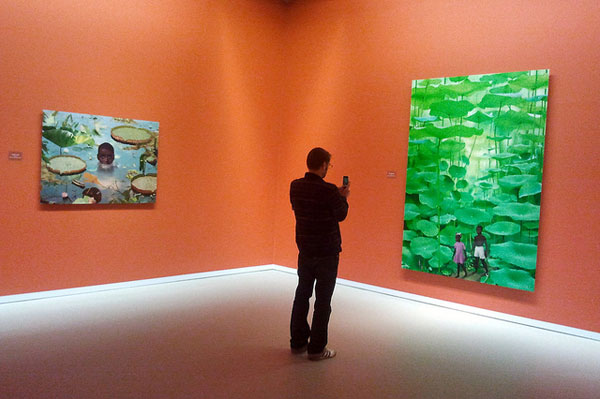
Photo by: ared jan wonink
Shoot in different angles and try different depth of fields and point of views. It’s also best to use a Polarizing filter to help remove the reflections of display cases. Photos taken inside the museum may appear a bit yellowish. You can either adjust your camera’s White Balance setting or tweak it in post processing.
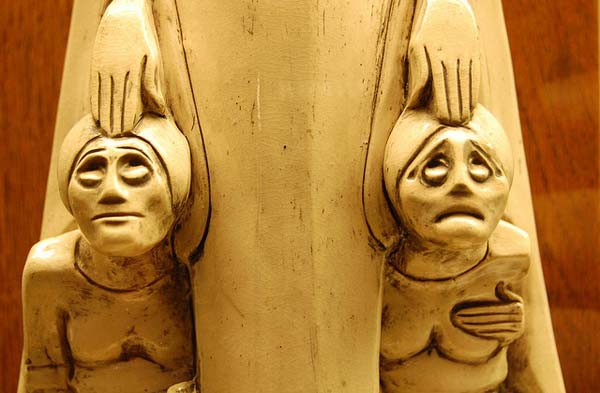
Photo by: Fabio Bruna
About Author
Anna Altez
Anna works as a Part-time Studio Photographer in the Philippines. She also works as a Freelance Photo/Video Editor and Events Photographer. She loves music and enjoys watching films, and going on adventures. Visit her photo blog here.


Nice work, thanks for sharing…