Using Lighting to Bring out the Best in Your Subject
When photographing a subject, it’s all in the lightining. Lightining is where you get your desired moods and the atmosphere of the photograph.Understanding how to use lighting to your advantage is a major hurdle to get over when becoming a photographer. Without getting too involved in physics, let’s look at some tips on approaching lighting in your photography and taking the best approach with your subjects.
What Exactly Are You Trying to Do?
First take a look and see what it is you are trying to achieve. It is important that you get the technique that you want down before you try to get your shot. Look at some other pictures and imagine how it is that they were done.
What kind of lightining was used in those photos? Were they natural or manufactured and what angles did they come from? Looking at these photos and figuring out the technique used will help you in using the lighting you need to get the shot you are going for.
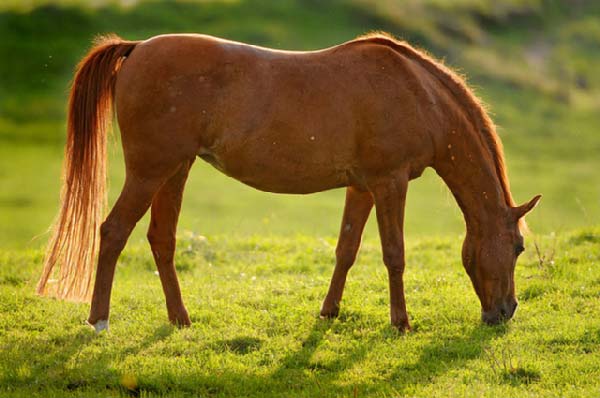
Tambako the Jaguar
Using Natural Lighting
Natural lightining will give your shot a softer more subtle look. It will look more natural. A good technique to use is having your subject sit next to a window and use the light that is coming in. You can control the lighting using different curtains and blinds. Moving the subject closer to or farther away from the widow will also give you a different light.
Working during the right time of day will make a lot of difference. If the sun if too high in the sky it can make the light too harsh. Early morning or late evening will work best for your picture taking. The light is not as bright and will give you a warmer shot. This lighting will also help from getting over-exposures and too intense of a contrast.
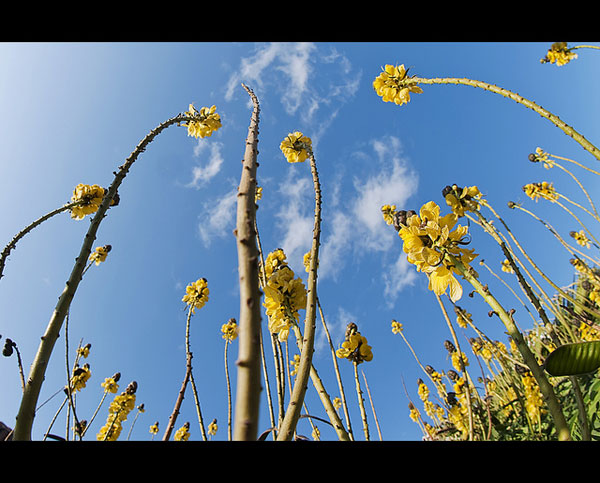
Andreas-photography
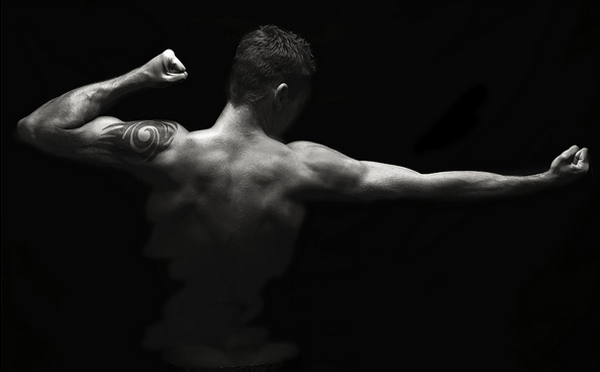
Using Studio Lightining
Studio lightining does not have to be difficult. If all the light you have ever used is natural, it can be somewhat nerve wracking to go into a studio and try to set up studio lights. Artificial lighting has many advantages over natural light. You need to spend the time necessary getting to know how to use studio lighting.
Having studio lighting gives you the benefit of being able to control your lightining source. You can decide on the angle and the strength of the lighting. This will allow you to do many things that just aren’t possible with natural lightining.
Start out with a single light and see where that takes you. Move its placement, but keep it on constantly. See how this makes each shot different and how it affects your subject. This will help you make the shot look like it still has natural lighting. A single light source still is similar to using the sun as your light source, but you get to control it.
Understanding Angles
Once you have gotten your subject seated, it is time to turn to the lights. Move them around until you are happy with the way that the angles look. You have control over how the it affects the subject and how much lightining is in the shot.
You will soon see that even slight changes make a big difference in how the shot looks. Don’t try to make big changes right now. Right now just try experimenting with what the lighting looks like and how it works with the subject. For now, take a shot and then make an adjustment the shoot again. Just experiment and see what happens.
Now Let’s Try Multiple
Once you think that you have one down, try it with two or more lights. This will be more complex. It is really up to what you are trying to accomplish when you work with the lights. There are many possibilities when you have multiple lights on at once. Looking at other shots and checking out other tutorials on multiple lighting can really help to expand your knowledge of what multiple lighting can do.
Tones and Colors
Doing portrait shots has the challenge of conveying the subject in the best possible way. You are trying to get all of their best features in one single shot. This can take a combination of skill and even some luck.
To give you a hand at getting the best shot, your best bet is to not use too much light. A lot of lighting will give a face a flattened out look. Over lighting the face will take out all of the tones and make it lose its interest and character.
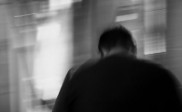
What About Shadows?
You don’t want to get too carried away with shadows. Too much light can start to cast odd shadows everywhere. You will end up with shadows on your wall and ceilings. This can be distracting in the wrong shot. It can also add character and depth to a photograph. If you are looking for a dark moody look to your shot, shadows work great. If you are not looking for this type of shot, it is best to avoid errant shadows.
Rromer
Working With the Angles
You have your subject all set up and everything looks great. But this is not where it all ends. You don’t want to stick with this one shot the whole time. You are going to need to work with your camera angle just like you did the lights. Some photographers will use a tripod. If this makes you feel more comfortable it is fine. But with studio lighting, you will probably want to go handheld. With all of the different lights, you will want to move around and try shooting from every angle to see what happens. Every angle will look different because of the studio lights.
It’s All In the Eyes
Remember the rule of portrait photography is to always have connection with at least one of the eyes. There are of course going to be some exceptions. But in general, for there to be that connection, you need to have focus on at least one eye.
It isn’t necessary for the subject to be looking directly into the lens. If you are using the studio lightining there are going to be many different shadows, tones and angles. This can obscure the eyes and make it difficult to see.
Now it’s time to get out there and gives these tips a try. Rent some space, take along a friend, and see what you can do.

