What You Need to Know About Fill Flash
What is Fill-Flash?
Photographers, who generally shoot outdoors, may oftentimes be presented with the problem of too contrasty scenes, which make it hard for the sensor to capture detail in both shadows and highlights. There is a solution to such a situation. It’s called Fill-Flash and here are some tips to help you get started.
Using Fill-Flash with Point and Shoot Cameras:
If it is sunny outside, set your ISO to somewhere in the range of 50 to 100, or the lowest it can go. You will want to set your camera to either the “Auto” or “Program” modes. The light metering of your camera should be set to a multi-pattern and wide area metering. In some cases, it is the only setting for point and shoot cameras. Other words used to describe this metering mode are ESP, Evaluative Metering, Honeycomb, Matrix or Multi-Mode. Within the light metering, is another option for a setting: “X,” “center weighted,” or “spot.” In this case, you’ll want to set it to “X.”

By: KSJaber
Flash:
After you have your settings ready, now is the time to turn your flash on. When doing so, set it to the “fill-flash” or “forced-flash” option. The fill-flash icon is generally a lightning bolt, but you may want to check your camera’s manual to be sure. Avoid selecting any kind of red-eye reduction settings and be sure your flash is not set to “automatic.”

By: OlisStudios
Shooting:
Now you’re ready to shoot! A good point to know, when taking a photograph with the fill-flash, is being sure that you are close enough to your subject. Typically, you should be standing within 12 feet of the subject, otherwise the chance of capturing your subject with fill-flash will diminish. The way fill-flash works is it actually computes the exposure that is inside your frame. It then triggers the flash so the flash knows how much light to give off.

By: Hilje
Using Fill-Flash with SLRs:
The same steps necessary for point-and-shoot cameras ring true for SLR cameras as well. Basically, you’ll set your ISO to a 50 to 100 range. You will then choose a multi-pattern exposure metering. Always check your camera’s manual to be sure. Then choose the metering “X” option (instead of “center weighted” or “spot.”)
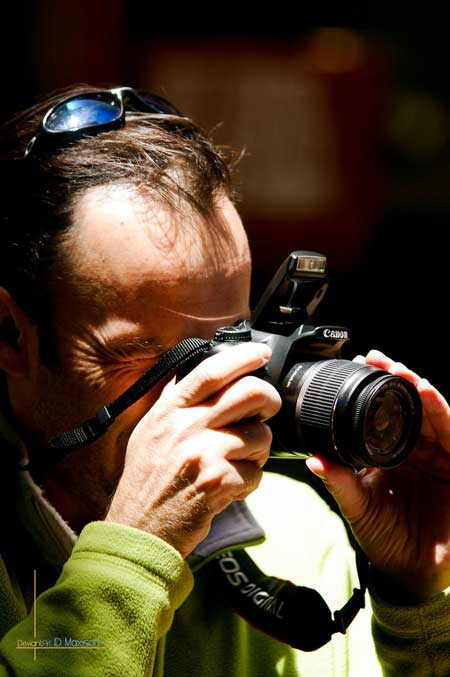
By: maxisoft
Flash:
Typically, SLRs come with a pop-up flash and in this case, you’ll want to turn that on. All of these directions are also suitable for an external flash. Whichever flash you’re using, be sure it is set to TTL or “through-the-lens.” Important to mention is that some of these types of cameras also include an icon that looks like a sun or a radiating globe. If your camera does, press this as it will let the camera know there is a lot of light around.

By: macrojunkie
Shooting:
After adjusting your setting and powering up your flash, you should be ready to photograph your subject. Two important things to take note of in this scenario is making sure that you are aware of your flash’s range, as they can exert a lot more power than a point-and-shoot. Secondly, when using an SLR camera, sometimes it is a good idea to lower your shutter speed below the “flash sync” speed. This is typically around 1/125 to 1/300 of a second.

By: Delusionist
Having problems? Try one of these solutions:
NO Flash:
If your flash isn’t firing every time, this is an indication that it’s time to let your flash charge up a bit before shooting again. Also, if you are too far away from your subject, your flash will use up more battery power, so always have fresh batteries on hand.
Too much Flash:
This is not a typical result, however if it does happen, your flash may have a “flash exposure compensation” setting. You can adjust this to minus 1 stop. From there you can keep going until you reach the exposure you want. If your camera does not have this feature, try moving out of the flash range to see if it helps.

By: alliec
Not Enough Flash:
If you’re experiencing this problem, it is probably because of one of two reasons. You might be shooting before the flash was able to recharge or your background it too bright. To allow your flash to recharge, check and make sure there are no red lights on your camera signifying that the flash is charging. (Many cameras have this light, but you may want to check your camera’s manual to be sure.) The other option, if your background is too bright, is to adjust the “flash exposure compensation.” In this case, you would want power it up or, if your camera doesn’t have this feature, try moving in closer to your subject.
Subscribe to our RSS feed OR Follow us on twitter
If you loved this article about fill-flash, don’t forget to add a comment in the section below.


Good topic.