How to Photograph a Rainbow
The hardest part of capturing a rainbow is timing. They are only visible when the weather and light are just right, and they fade quickly from sight. Those who successfully capture a rainbow are prepared to take the photo before the rainbow appears. Follow these steps to capture the best rainbow images possible.
Select a lens
Attach a lens with a polarizing filter to your camera. Using a polarizing filter will make the colors in the rainbow really pop, and ensure that all seven colors are distinctly visible. It will also enhance the blue tones in the sky, so that the background of your rainbow pictures are more than grey. Consider using a very wide angle or fisheye lens to take really powerful pictures of the rainbow if you can see both ends.
Set the frame
Set the shooting angle, the focus, and the zoom to insure that as much of the rainbow as possible are against dark sky. In this area the rainbow’s coloration will be most visible.
Make the photo unique
Look for ways to make your rainbow picture distinctly different from others. If a jet is flying through, consider taking some close-ups of the plane near the rainbow. If you can find a vantage point, like a bridge or a rooftop, where you appear to be standing higher than the rainbow, try taking some high-angle shots. Take a low angle shot that gives the impression that you are standing at the rainbows starting point. Find some way to make the image truly one of a kind.
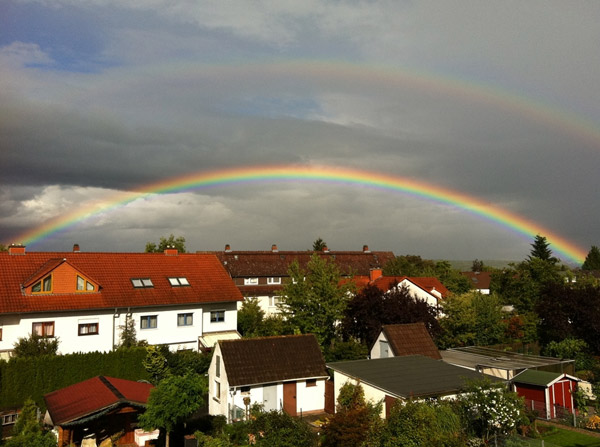
Intense Rainbow by Robert Rowe
Consider the foreground and scope
Consider what lies between you and the rainbow. Often, rainbows can be pictured over beautiful pastoral shots. Pay attention to the foreground and try to capture something equally beautiful there. Also, look closely, chances are you can see two or more rainbows in at least a small area of the sky. Capture areas where there appear to be two or more bows. This will allow viewers to see the amazing double-rainbow phenomenon, in which the colors run in a reversed spectrum in the second bow.
Adjust the aperture down
When the aperture is lower, more of the shot will be in focus. This will result in a wide angle shot that contains the whole rainbow and that has both depth and definition.
Use accessories
Use a tripod or other accessories. A tripod will keep your camera steady and help you keep the image perfectly in focus. This is especially important for rainbow pictures because any blurring created by motion or focus issues will make it harder to pick out each individual layer of color. Timers or remotes can also be useful if you want to put people in the image.
Be quick, but draw out your exposure time
Remember, rainbows are typically visible for between two and ten minutes, so the picture must be set up and captured quickly. That being said, long exposure photographs capture more of the rainbow’s color, if you can ensure that nothing in the frame will move during that exposure. Experiment with exposure whenever possible while photographing rainbows.


